Representation of a person

Project 1 - The selfie

|
Selfie - the slang word for 'self-portrait'. In my generation, the selfie became popular in 2016 and was later added onto the Oxford English Dictionary.
Question) How many Selfies do you take a week? What do you do with them? If you don't take Selfies, why not? I personally don't take daily serious selfies oftenly. It only depends on back and forth photographs sent to friends but they aren't the types of photographs i would post on social media. I typically take serious selfies whenever i feel confident that may be once every 2 weeks or once a week. Question) What, do you think, is the reason why taking Selfies has become so popular? Is there a downside to the taking and sharing of Selfies? I think selfies became popular because instagram became a big thing in 2016 where everyone was beginning to use it and consumers saw it was popular to post selfies and they found it interesting. The downside of taking selfies is it can create harm to your confidence as you may compare yourself to other people that are taking selfies. When it comes to sharing selfies, there may be some more private selfies and public selfies. For example people may comment on the way you look in a photograph that will harm the way you see yourself. Question) What are the rules or conventions for taking a Selfie? Where do these come from? Is it OK to break these rules? There are rules. Some may be personal and others may be more private. The personal rules may be the way you position your face to make you look a certain way. Also the way you place the phone and what angle you place your phone and the distance from your face. |
First response to the selfie - Light and shadow selfies
Andre Kertesz
Kertesz is a photographer based in Paris that throughout his work, he created a series of work called the 'Self-Portrait Silhouette'. He mainly focuses on taking silhouette photographs of himself. He makes sure to include to the camera in his photograph to define the 'self-portrait'.
Kertesz is a photographer based in Paris that throughout his work, he created a series of work called the 'Self-Portrait Silhouette'. He mainly focuses on taking silhouette photographs of himself. He makes sure to include to the camera in his photograph to define the 'self-portrait'.

This is an example of Kertesz work where he includes a silhouette of himself and a camera.
|
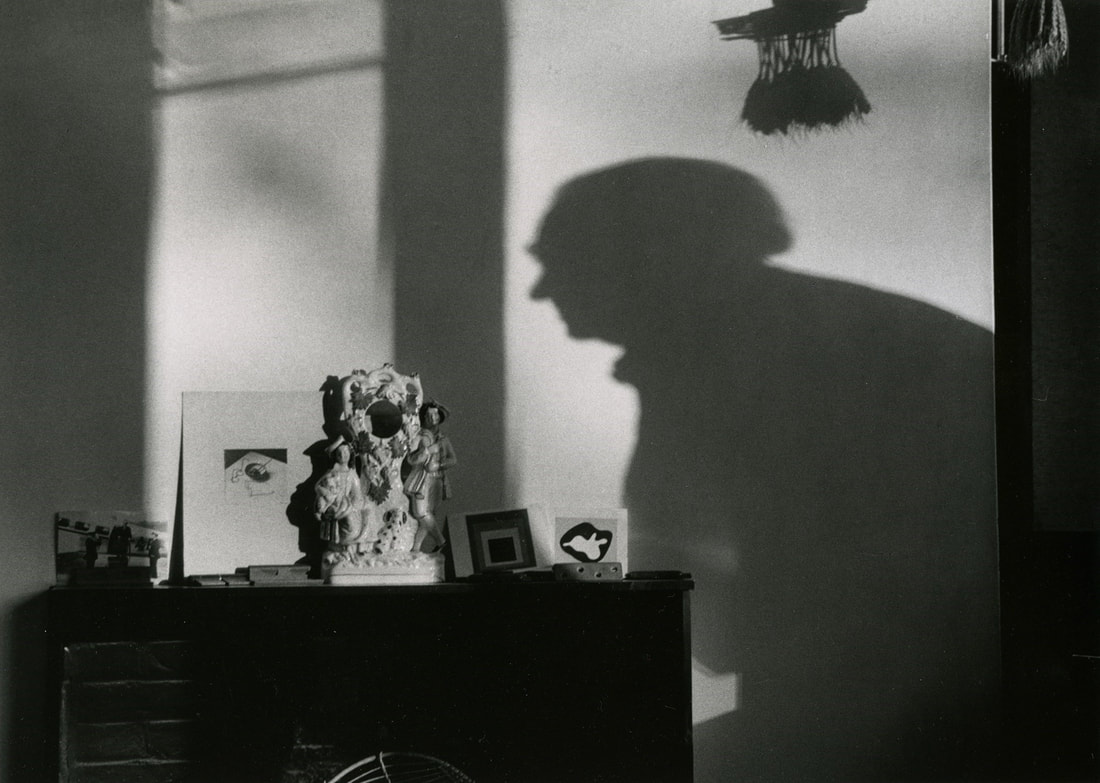
In his work, he present this photograph as a distinguishes old man. He uses the use of shadow to present a hunchback and makes sure to include the window shadow. The sculpture on his fireplace is the object that stands out the most as it is the center of the image but it doesn't take away the importance of the shadow. This is because it makes the viewer wonder who the shadow is and its size also brings out its siginificance.
|
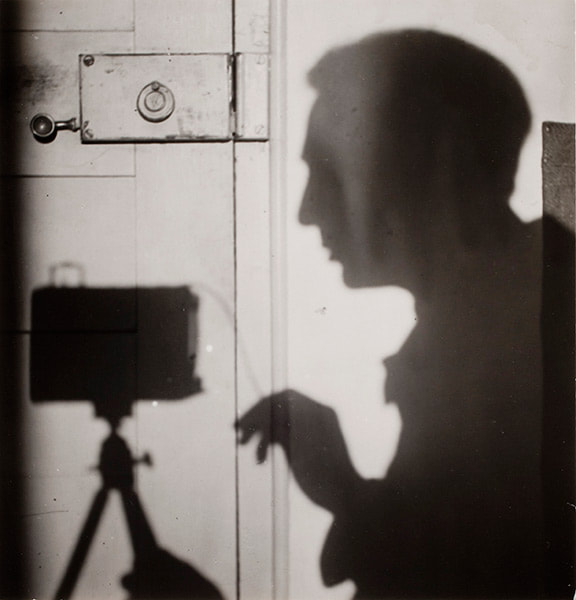
This is my favorite piece by Kertesz because the silhouette of the camera defines the 'self-portrait' significance. I also think the composition in this photograph is successful as the door distances the man and the camera.
|
This type of photography focuses on an image created by light (and the absence of it). The work of shadow and images created by light are significant. Different artists focus on different uses of shadow and Kertesz's work stood out to me as his composition was eye catching and an art piece I would like to recreate.
My work


For this photograph I included a simple white wall. To take these series of photographs I placed a white light torch at a distance behind me which created a shape shadow. I also made sure to include my phone to present the 'selfie'.

|

In this photograph I decided to include a stairs handle as I wanted it to have something just like Kertesz had in his photographs. With this, I tried to a-line the handle so it is symmetrical to the angle of the photograph.

|
Next time I would like to take photograph in a big white wall so i can include different shapes and manipulate with the shadow.
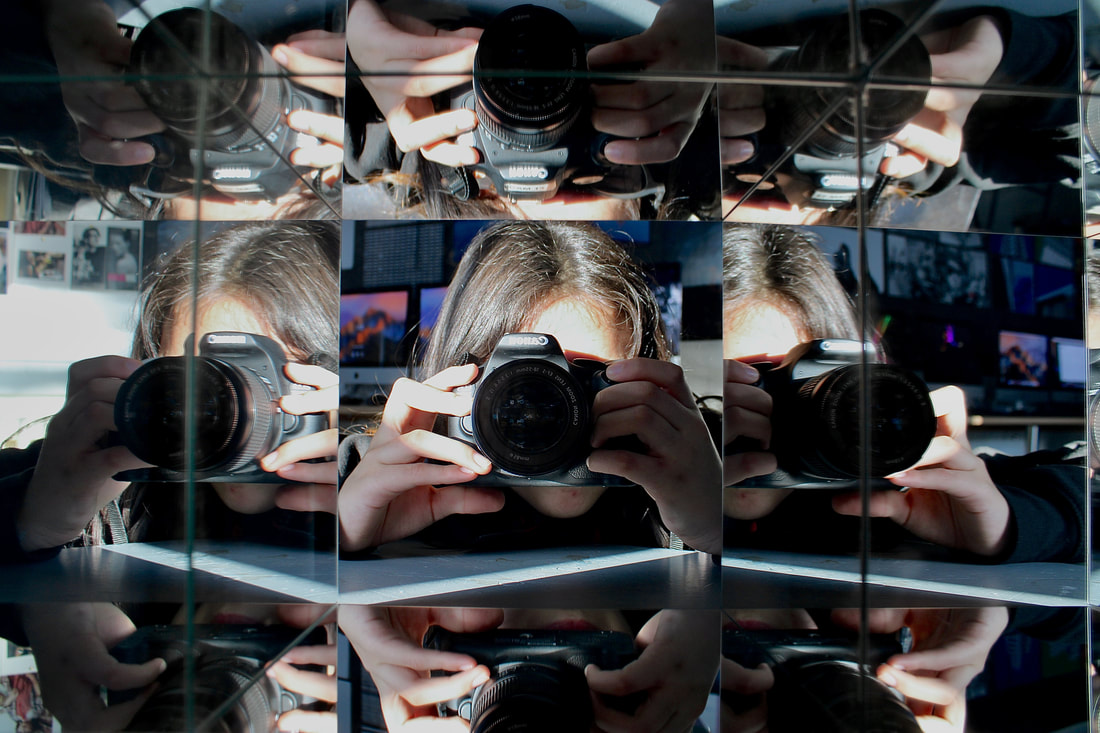
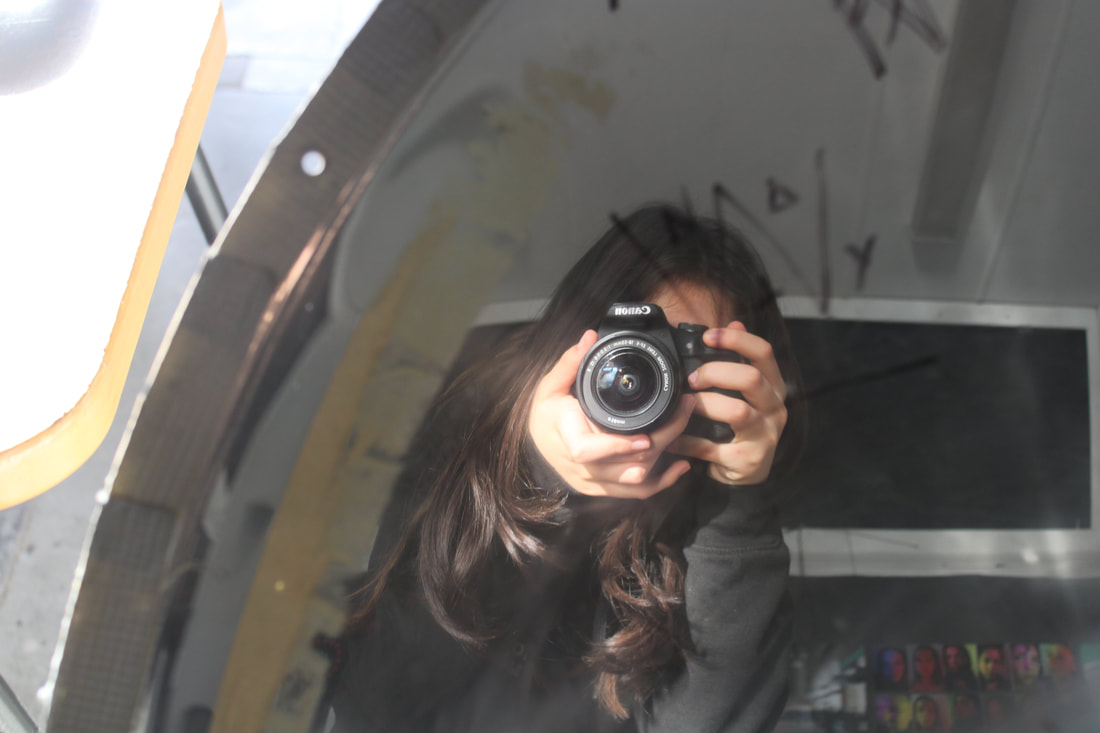
Second response to the selfie - Reflective selfies
Ilse Bing
Ilse Bing is a photographer that throughout her work, she created selfies here she sets up multiple mirrors to where they each reflect her. Her camera placement is in an angle where it captures all of the mirrors creating a dimensional effect.
Ilse Bing is a photographer that throughout her work, she created selfies here she sets up multiple mirrors to where they each reflect her. Her camera placement is in an angle where it captures all of the mirrors creating a dimensional effect.
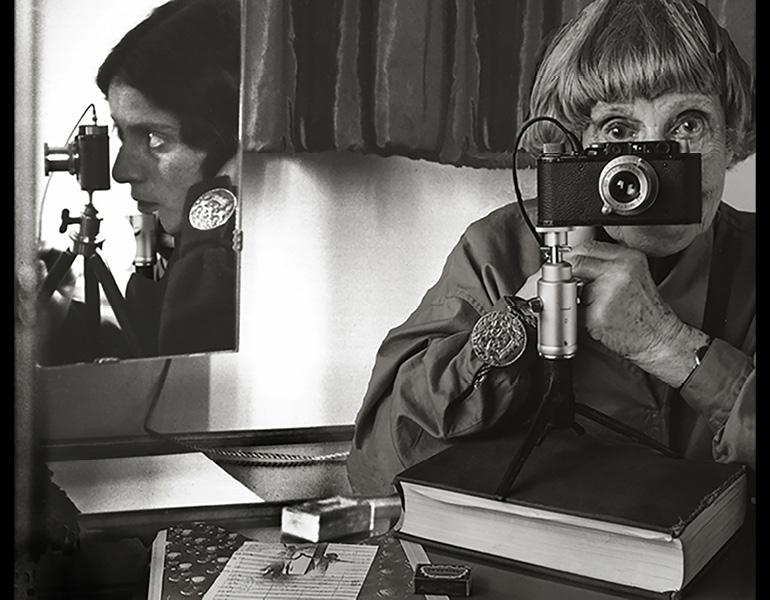
In this photograph is a reflection between young vs old. This is an interesting photograph as the mirror reflections are not real but still sent a message to the view.
|

In this photograph she places the camera in front of her directed towards a mirror. This photo is significant because you can't quite work out the camera placement and where the mirrors are placed which creates a mysterious photograph. When focusing on the mirror on the left, you can see it's sort of distorted which gives a peculiar atmosphere. This photograph is successful becuse
|
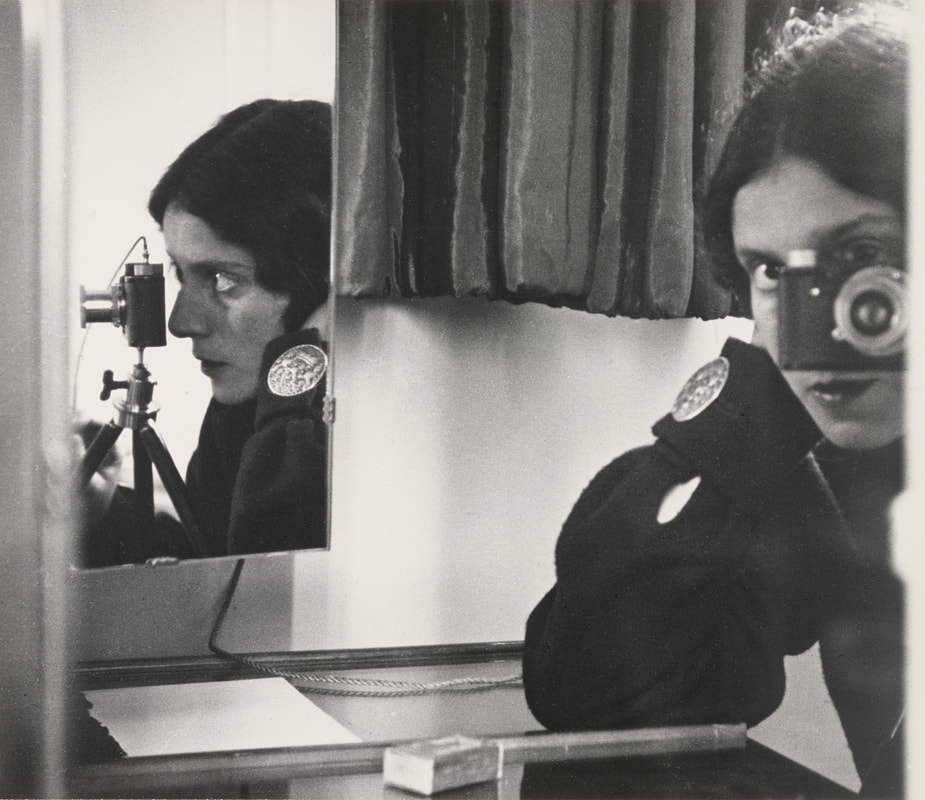
This is my favourites photograph made by her as on the right, you can only see half of her but the reflection exposes her side profile which is very cleverly manipulation with mirrors.
|
This type of selfie uses a range of reflective surfaces (not just mirrors). If you were to use a window of a shop you would most likely be able to see the reflection behind you creating an abstract work This may play with the mind to try and figure out what is through the window and what is reflecting against it. You will also be able to see the device you are using to create there photographs defining the concept of the selfie.
My work
|
|
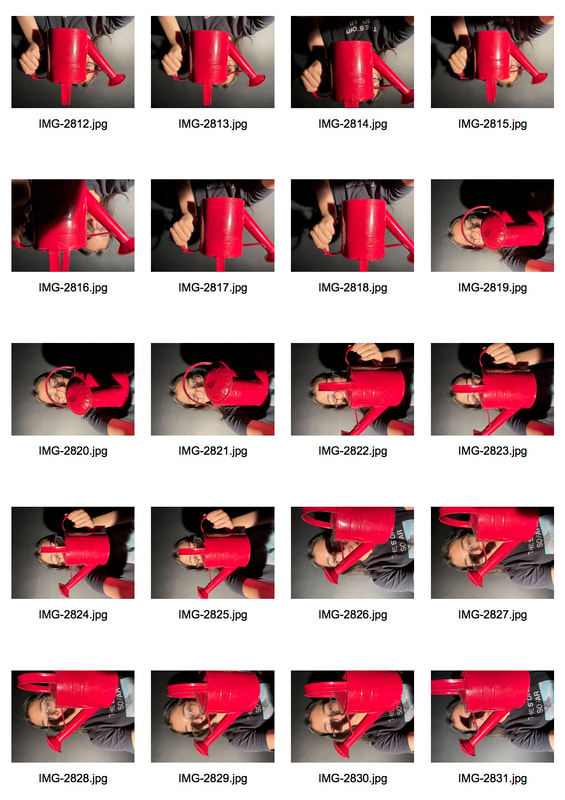
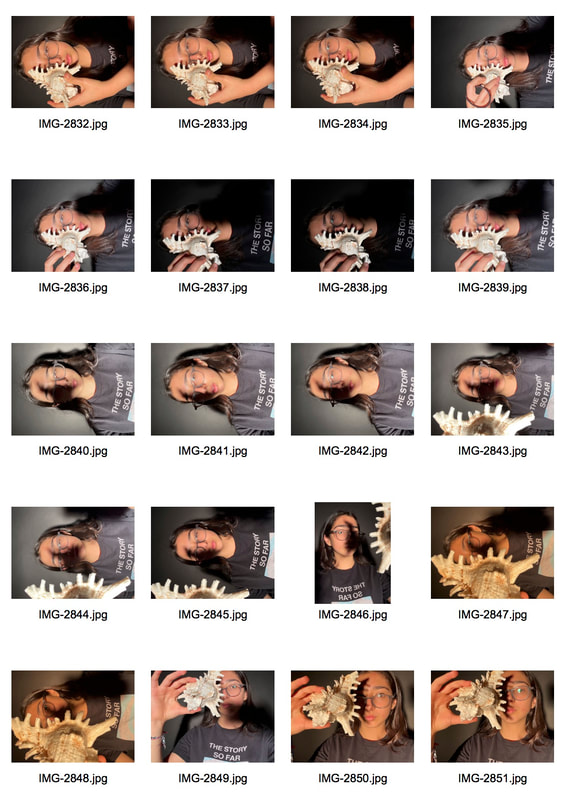
Third response for the selfie - abstract selfies
Edu Monteiro - Autoerrotrato Sensorial
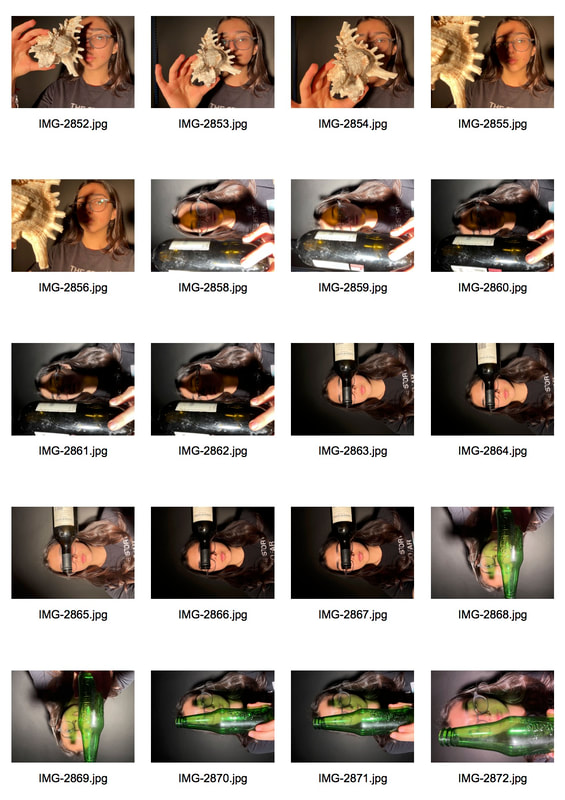
This photography style fits in perfectly with an abstract selfie as Monteiro has taken different objects to cover his face. He used different textures of objects and different sizes creating varied thoughts and feels in his artwork.
This photography style fits in perfectly with an abstract selfie as Monteiro has taken different objects to cover his face. He used different textures of objects and different sizes creating varied thoughts and feels in his artwork.

In this artwork he has used rope to cover his face creating a rough texture towards the face. This is affective as it is a very usual thing to see, a person with lots of rope around their head.
|

Here he has taken a series of cigarettes which triggers the views smell, allowing them to think about the sent of cigarettes. This is affective because the construction of the cigarettes created a successful abstract selfie.
|

Here he has used bananas which keeps in mind the weight of the bananas again the hard. The weight of the bananas didn't allow to stay placed on to the models face causing them to use role. This is affective as the composition in this photograph is successful.
|
MY WORK
|
|
|
|


|


|
WWW: Response is successful with the abstract portraits.
EBI: Find a different artist that meets my response like mine.
EBI: Find a different artist that meets my response like mine.
Project 2 - Character Recognition
Myra Greene
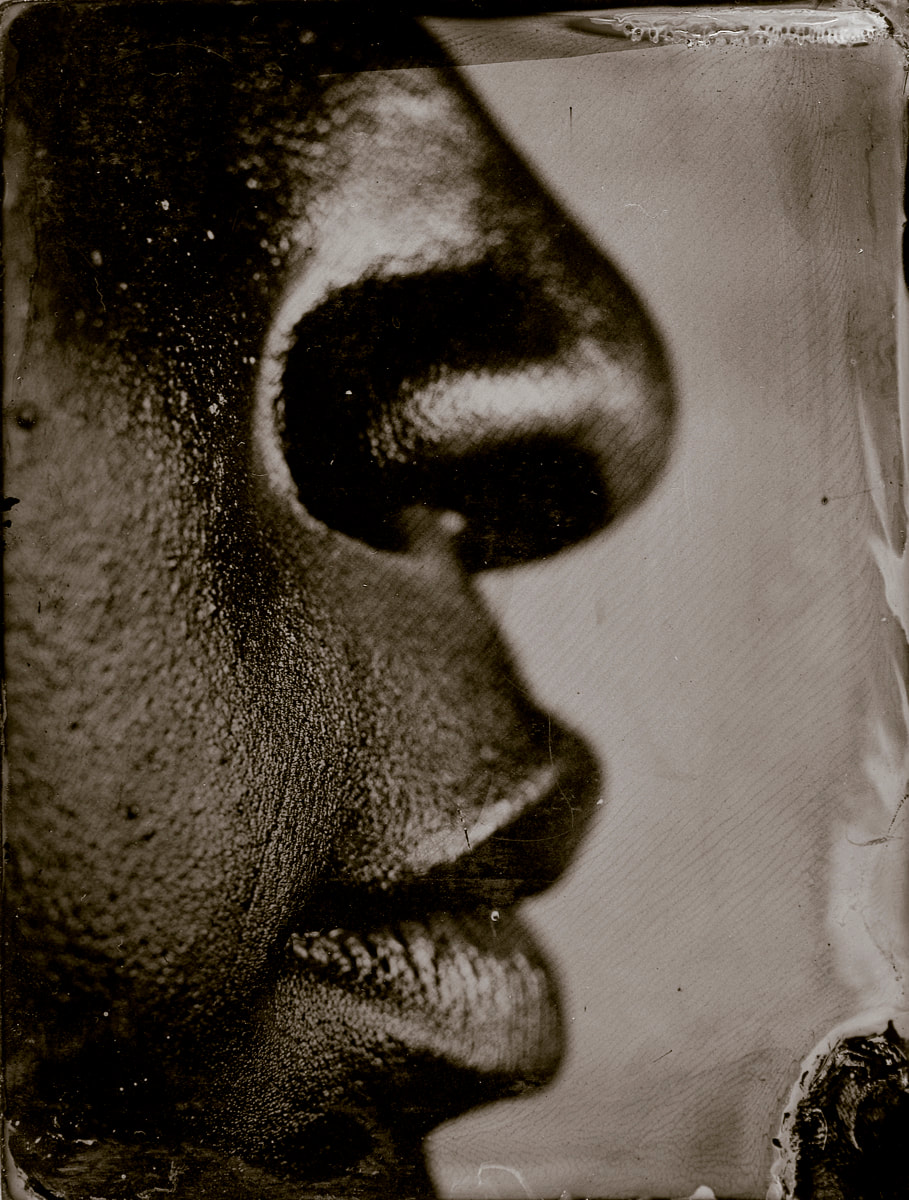
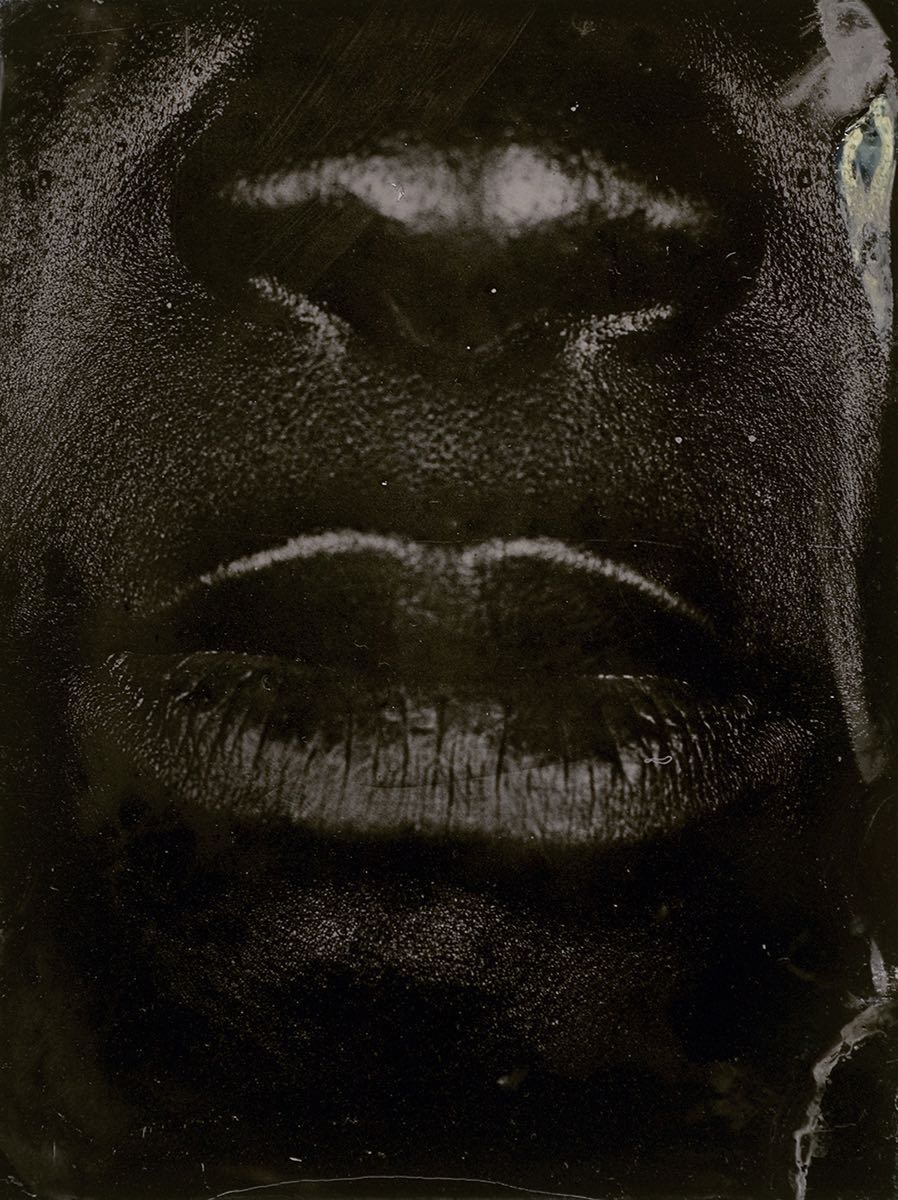
These photographs were created by Maya Greene to find our if her appearance and dark skin will be judged before people judge her character. With this artworks, she presents ethnic features that people may judge and creates an idea on other peoples mind, which may be negative, before judging her personality.
These photographs were created by Maya Greene to find our if her appearance and dark skin will be judged before people judge her character. With this artworks, she presents ethnic features that people may judge and creates an idea on other peoples mind, which may be negative, before judging her personality.
Confronted with an up swell of bigotry both personal and public, I was forced to ask myself, what do people see when they look at me? Is that skin tone enough to describe nature and expectations in life? Do my strong teeth make a strong worker? Does my character resonate louder than my skin tone? Using a photographic process linked to the times of ethnographic classification, I repeatedly explores my ethnic features in Character Recognition. The lessons learnt are haunting and frightening in these modern times.
Question) The context for the work- does it relate to wider issues (eg. Hurricane Katrina, the slave trade)
Greene artworks was implicated in the history of colonialism and slavery and used as took of ethnographic classification relating to slavery.
Question) What are Greene's intentions? Why this process, why the small scale etc.?
Greene's intentions in the artwork mainly focuses on ethnic features that are usually judged and create a label on the person before getting to know their character.
Question) The process- how does this support / contribute to the meaning behind the work?
With the use of facial features, you as a viewer is able to identify the unique African features. This is affective as Greene's work is based around ethnic features which are usually judged but she bring them to light through her artwork.
|
|

|


|
In these photographs, Green uses a wet-plate collodion process:
Step 1: Coat with Collodion The first step in making a collodion negative begins with a solution called collodion. Photographic collodion is a mixture of raw cotton (which has been treated with nitric and sulfuric acids) dissolved in ether and alcohol, with a little iodide and bromide mixed in. Pour the collodion onto a glass plate, then the tilt the plate until its entire surface is coated with the solution. Then pour the excess collodion back into its bottle. Step 2: Dip in Silver Nitrate move to the dark room. While the plate is still wet, dip it into a solution that contains silver nitrate. The silver nitrate binds with the iodide and bromide to make a silver halide coating, which is sensitive to light. Wipe the silver nitrate solution off the back of the plate with a clean cloth. Step 3: Plate to Camera While still in the darkroom, insert the plate into a light-proof holder, which is constructed to fit in your camera. Take the holder to the camera and insert. The silver nitrate solution will drip from the holder, even when it's in the camera. This is normal. There's a slide in the holder that covers the glass plate. Remove the slide. The collodion plate is now ready for exposure. Step 4: Expose Expose the plate by removing the lens cap. This will allow light to enter the camera and strike the light-sensitive collodion. Expose the plate for 20 seconds to 5 minutes. (Exposure time depends on how fast the silver halides react to light, how much light enters through the lens, and the amount of light hitting the subject.) Replace the lens cap to end the exposure. Reinsert the holder's slide. The holder can now be safely removed from the camera and taken back to the darkroom or dark tent. |
Step 5: Pour on Developer
Remove the glass plate from the holder. While holding the plate over a tray, pour the developer over the plate. The developer is a solution of iron sulfate and acetic acid. It turns the silver-halide grains that have been struck by light into a metallic silver. Rinse the glass plate with water to remove the developer. You can now take the plate out of the darkroom.
Step 6: Fix the Plate
The grains of metallic silver are still on the plate, as are the silver halide grains not struck by light. Remove the unexposed silver-halide by placing the plate in a tray of sodium thiosulfate, which acts as a fixing agent.
Step 7: Wash and Varnish
Wash the plate one last time in water to remove the fixing agent, then dry. To protect the delicate image, apply a coat of varnish to the plate. Application is conducted in much the same way that the collodion was applied to the plate. First, heat the bottle that contains the varnish over a flame. Also heat the glass plate over a flame. When both are blood warm, pour the varnish onto the emulsion side of the plate, tilt the plate until it is fully covered, then pour the excess back into the bottle. On the glass plate is a visible negative image. There is a dark coating of silver where light has struck the plate; the plate is clear where it was not exposed to light.
Step 8: Make a Print
To make a albumen print from a collodion negative, float a sheet of paper on a solution of albumen (egg white) that contains a cloride. Dry. Float the paper on a solution of silver nitrate. This produces a coating of silver chloride. Dry again. Within a printing frame, align the negative over the paper, then place both in direct sunlight. The sun will print the picture. Wash the print in water, then tone in gold chloride. Wash again. "Fix" the print in sodium thiosulfate, then give it a final wash. Your print is now ready for mounting.
My response
How to:
|
|

|


|

|

|

< Dark room response >


|


WWW: Final darkroom response are successful and represent Greene's work
EBI: Create different shapes with the tape to make the wet-plate collodion process. |
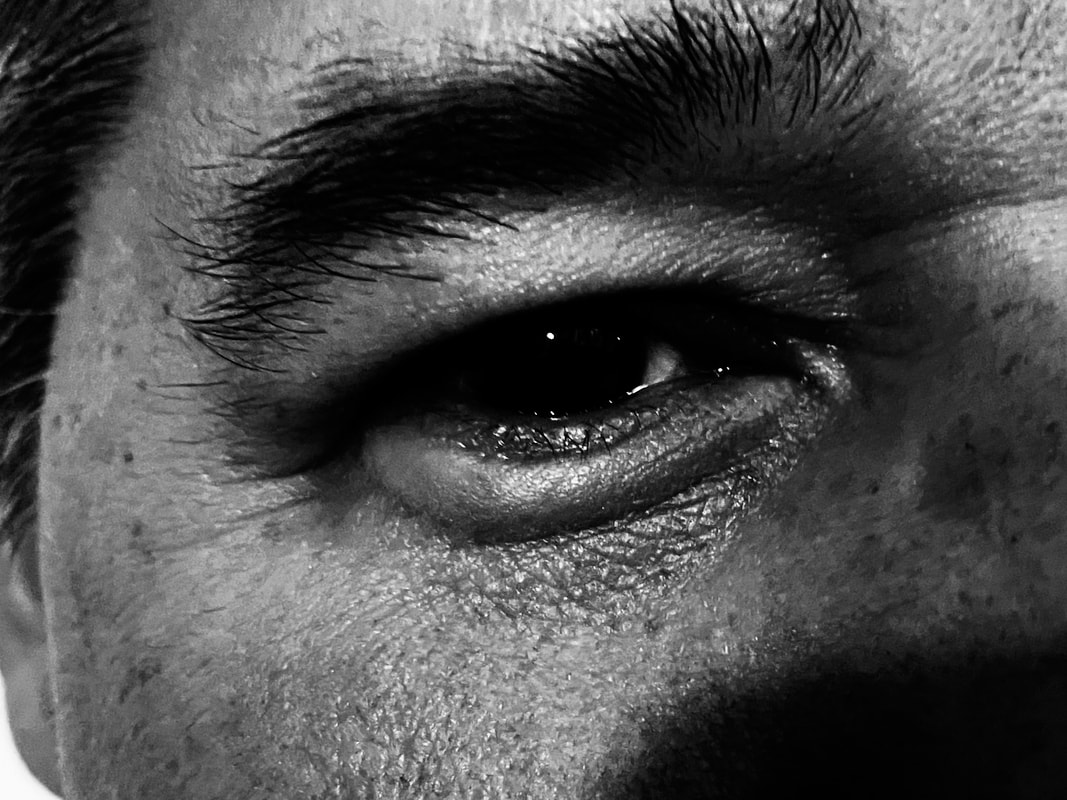
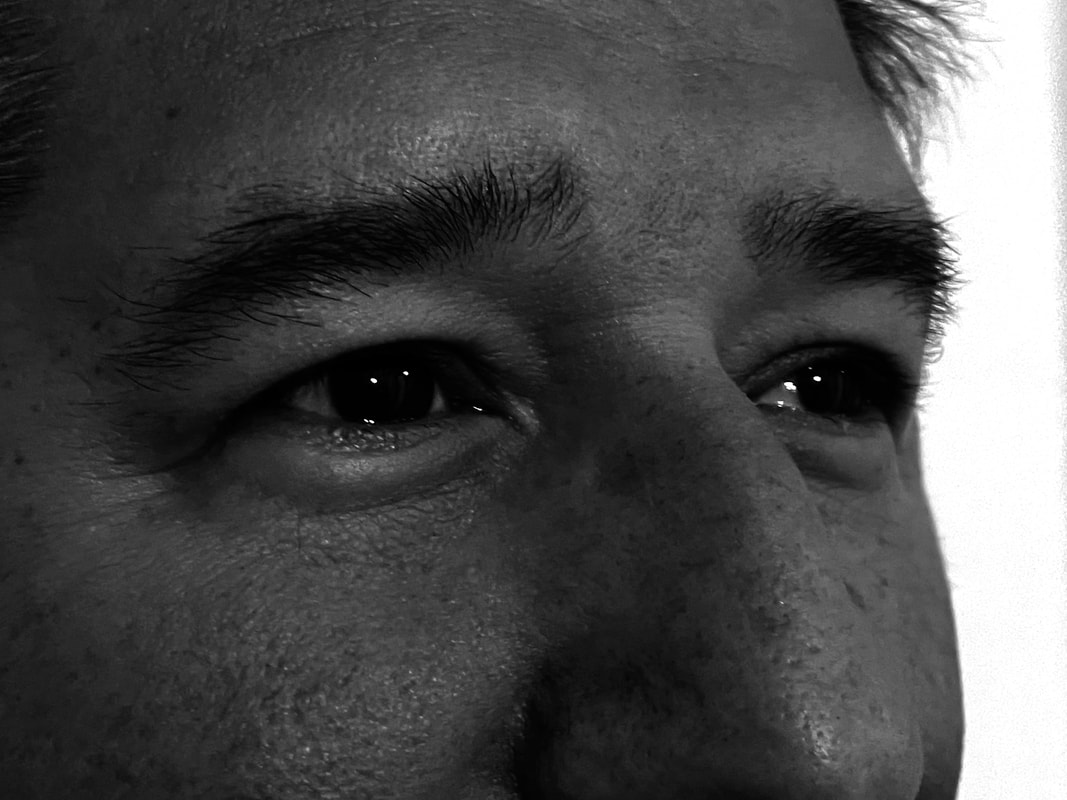
Response at home
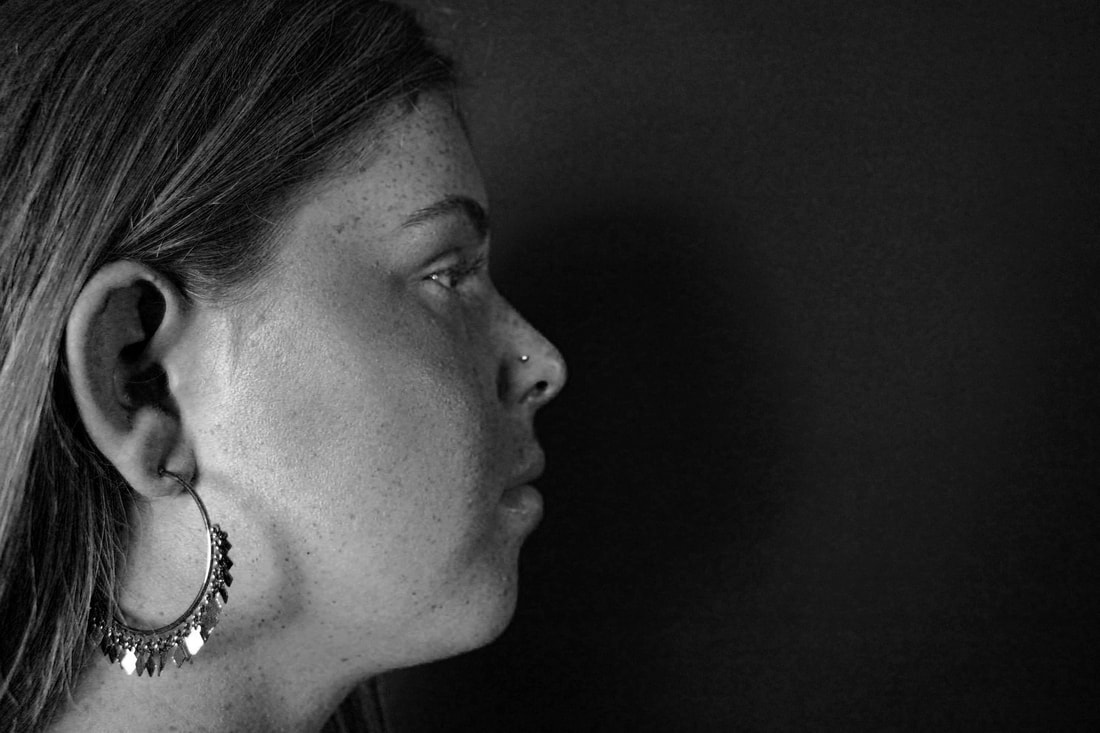
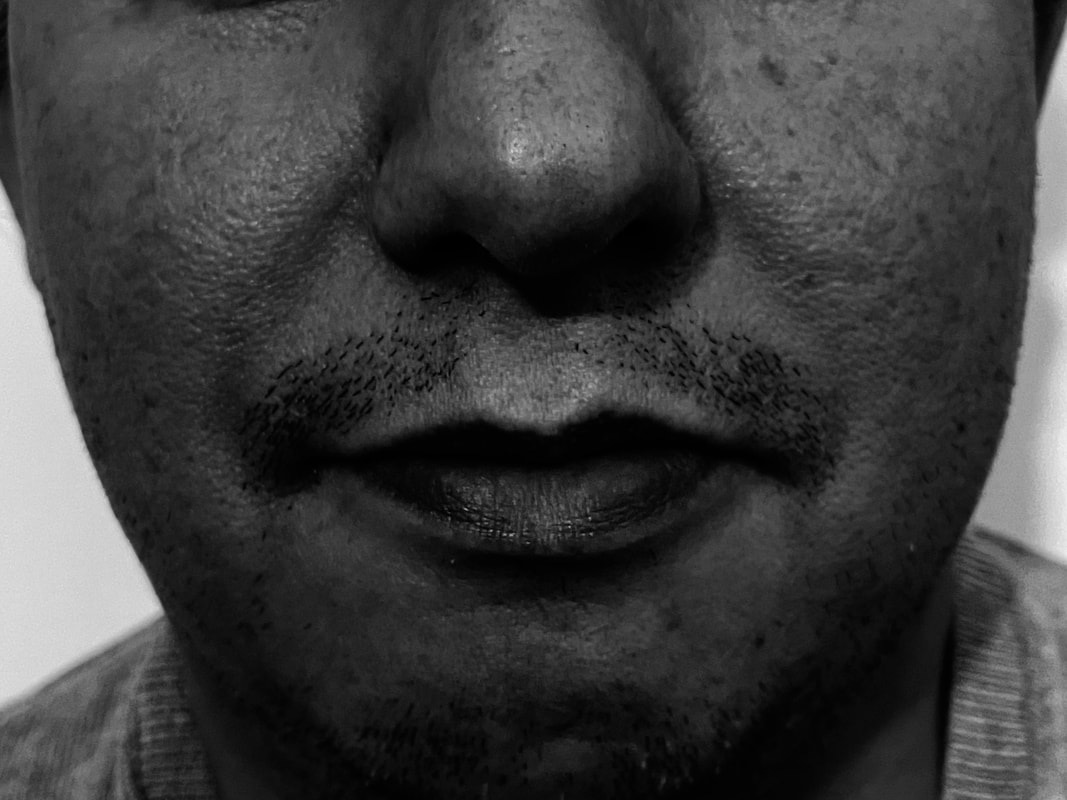
For my response, I used my dad to show different facial features.
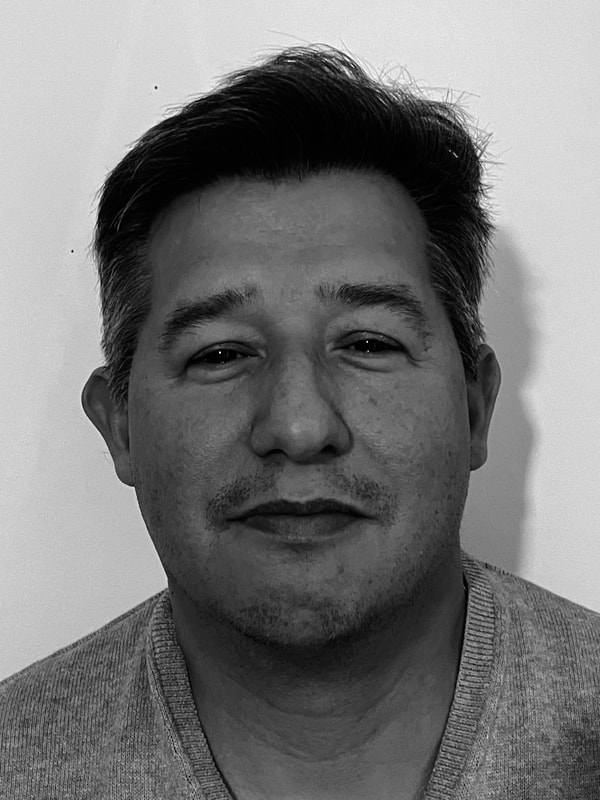
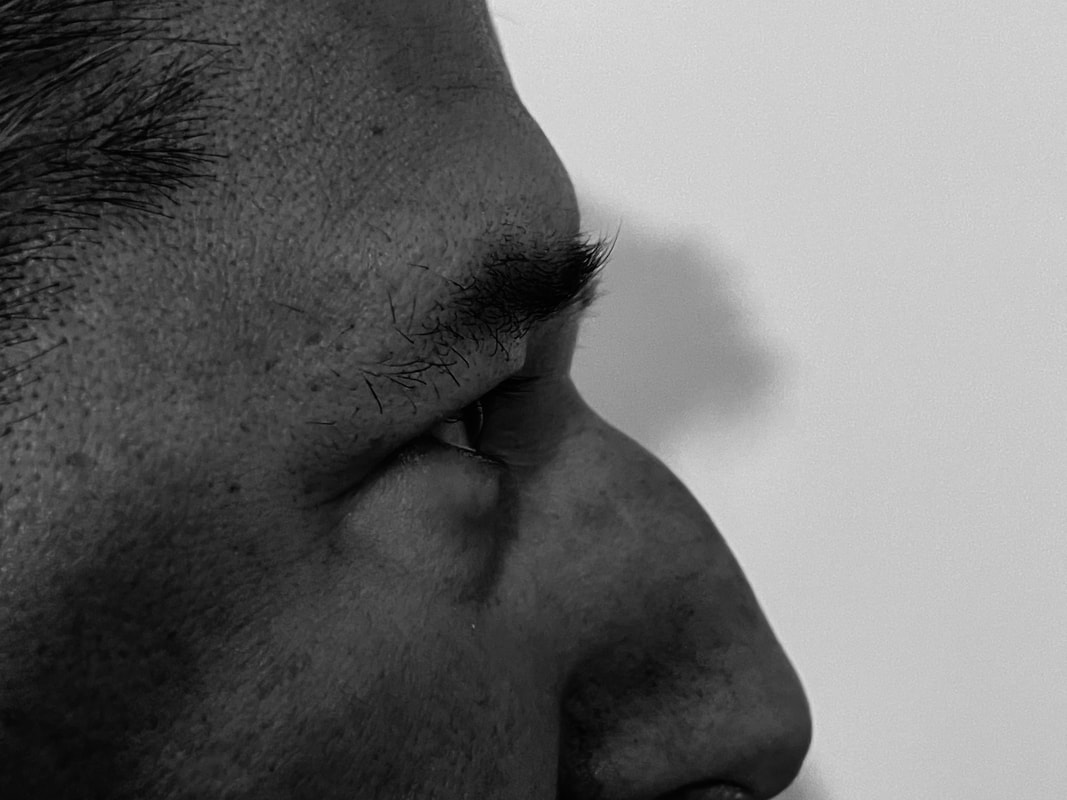
WWW: Successful demonstration of features
EBI: I couldn't work out how to use the editing technique I used in the photoshop in school at home so next time I will use the school technique as I believe it would have been more successful. |
|
Project 3 - LIGHT & SHADOW
Valerie Kabis
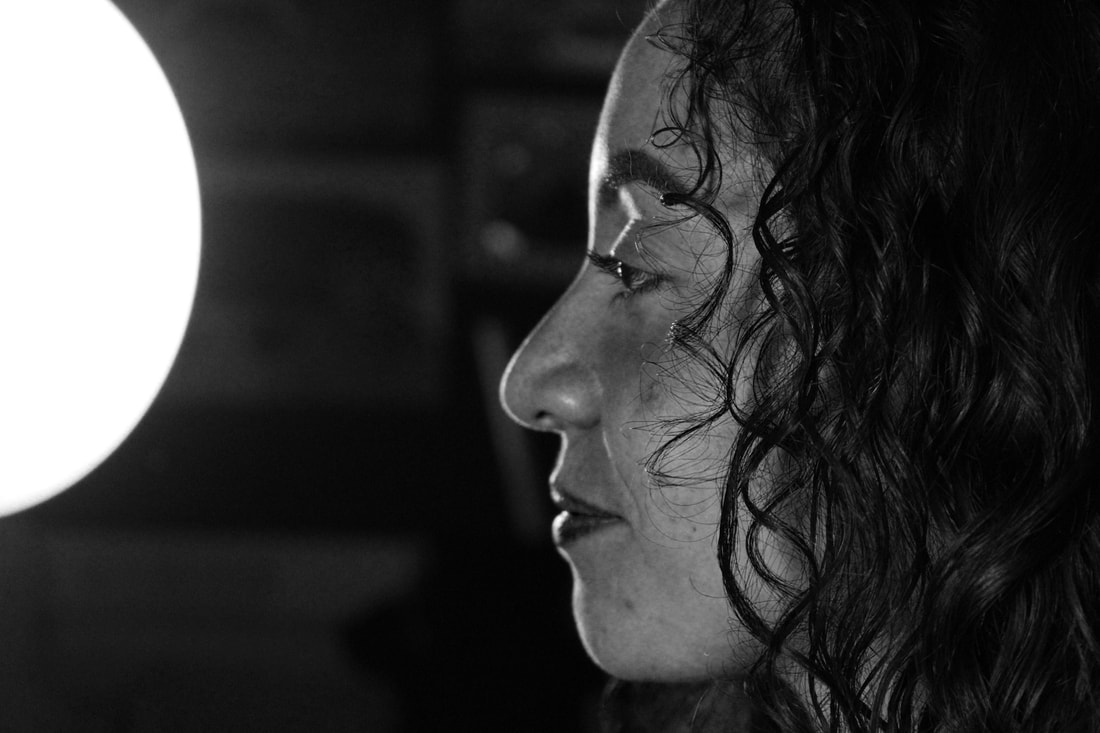
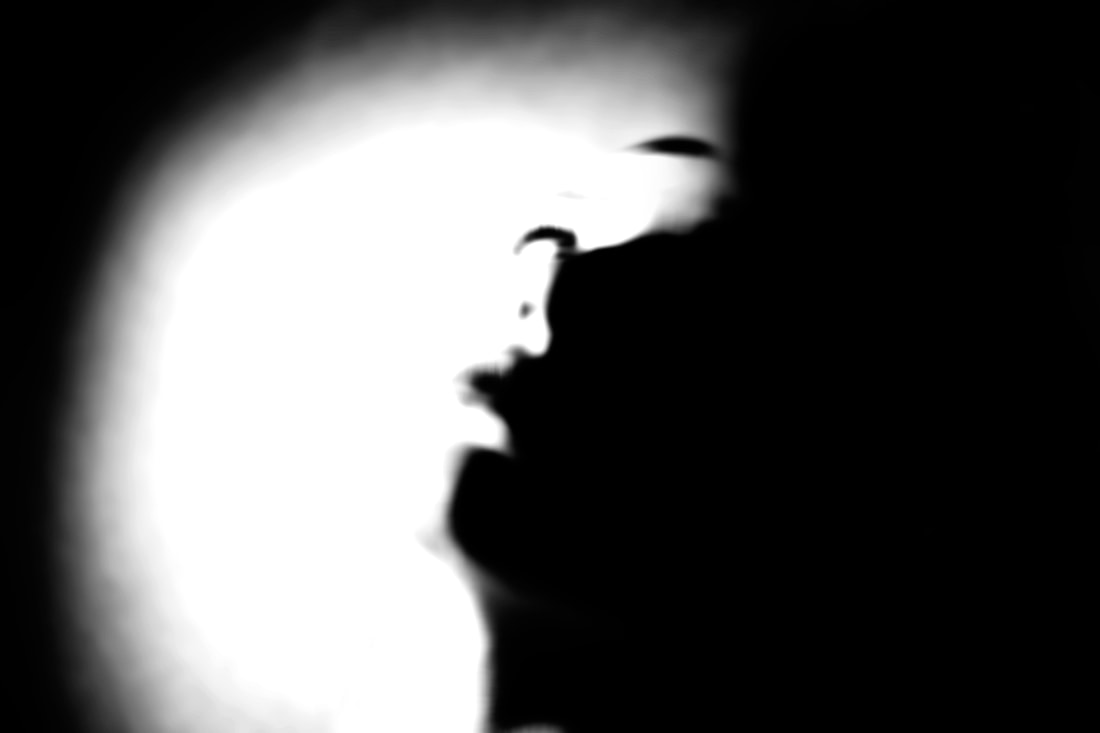
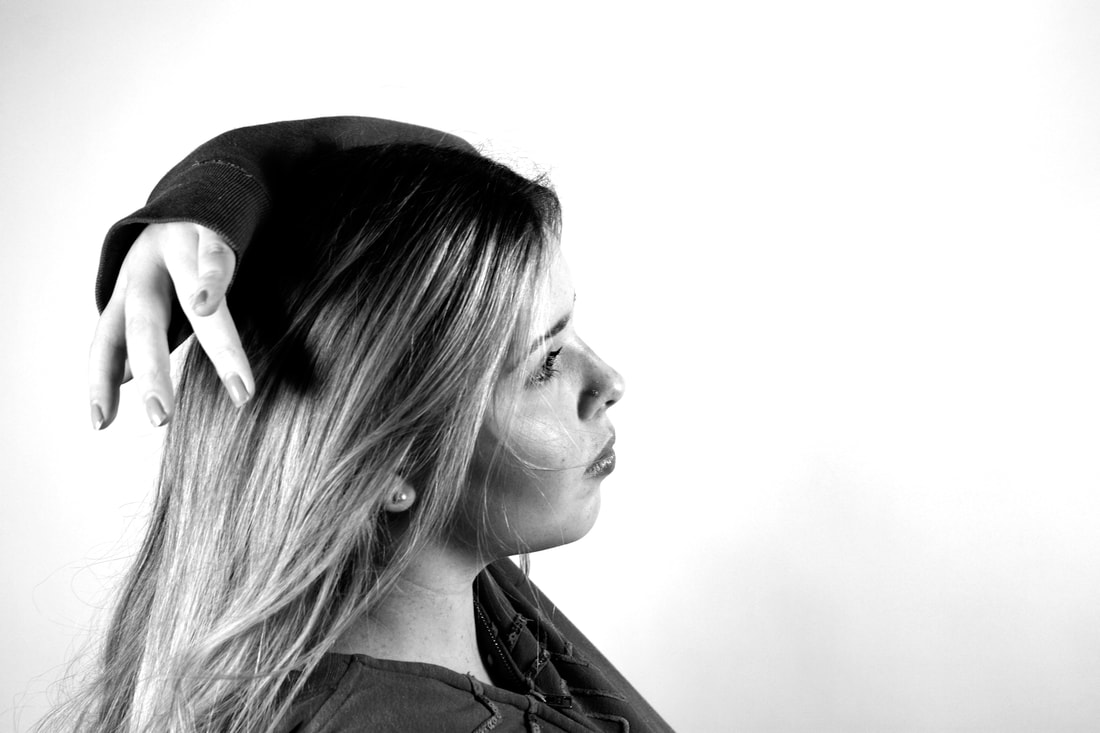
Valerie Kabis focuses on the contracts between light and shadow and experiments these effects with lights and shadow. Using Kabias' work, I inspired my digital photos and created the in the studio. I experimented with different lights which created different shapes and abodes against the face. I also experimented between studio lights, really brights lights and phone lights.
Valerie Kabis focuses on the contracts between light and shadow and experiments these effects with lights and shadow. Using Kabias' work, I inspired my digital photos and created the in the studio. I experimented with different lights which created different shapes and abodes against the face. I also experimented between studio lights, really brights lights and phone lights.
|
In Valerie Kabis work, There is a clear pattern in her work as you are able to see whites and blacks with no in-between. This makes her more unique as the unfocused and dark features is not usually seen in modern photography.
|

|
First response - my work
When editing these photos, I made sure to included the black and white theme and the heavy contrast setting. Although in this response I didn't contribute the movement response, I made sure to include it in my second response. When editing, I changed the settings responding to the original photograph and what was best suited for it.


|


|
WWW: Successful composition
EBI : Photographs are in focus. Next make the photographs more blurry.
EBI : Photographs are in focus. Next make the photographs more blurry.
second response
In my second response, I made sure wanted to bur the photos to represent Valerie Kabis' work.
|
|
Project 4 - David bailey, box of pin ups
David Bailey focused on taking photographs are famous people. What was unique about his work, was that the made the photograph represent how he is viewed to the public's eye or do the complete opposite of that. This is a famous work because the representation of the model vs the photograph expressed a feeling and represented the person's life. Reality can be different between the media and personal life and what David did was imitate the media's belief in their life and portrayed their life correspondently or showed the reality of the model's life behind the scenes that the media doesn't get to see.

|

|

|
my work
Secretive

|

|
Intimidating
|

|
Angelic

|

|
WWW: Emotions successfully portrayed
EBI: Show more emotions
EBI: Show more emotions
homework: GEORGE TOWN - LEWIS KHAN
|
Lewis Khan is a photographer. Everyday when he would leave his house, he would see this man and would always say hi to him for several years. He documented his life in just photographs. He also created a short 11 minute film which also is based on George. He ended his life for a few and even went in is home and photographed things that represent him and portrayed his life. He not only to photograph of him but also objects and tables that represented him as a person. This allows the viewer to also enter George's life for 11- minutes.
|
|
MY WORK
For my response I wanted to mainly focus on the private life of a student. This consists of after-school tasks. I wanted to also included the personal space of my model. I made sure to take photographs of their room and hobbies.
|
First response
|
Second response
|
WWW: Made the models life look interesting and productive and the photographs represent them and their life.
EBI: Work on the lighting because the camera picked up their room light. Next time I will work on adjusting the camera settings.
EBI: Work on the lighting because the camera picked up their room light. Next time I will work on adjusting the camera settings.
SCHOOL DOCUMENTARY response
For my second response, I went around the school and ask some teachers around the school if I could take some photographs of the working. I took a series of photos from 3-7 photos each to document their life as a teacher.
|
|
|
documentary slideshows
|
Physical Eduction (PE)
|
Art
|
Design Technology (DT)
|
|
Head of year 13/sixth form
|
Modern Languages
|
South wing office lady
|
FINAL PHOTOGRAPHS

|


|

|

|

|
WWW: Teachers were really nice about taking these photographs and photographs are successful as they showed them working.
EBI: Take photographs of them teaching or doing activities related to their subject.
EBI: Take photographs of them teaching or doing activities related to their subject.
project 5 - LIGHTING
Lighting is one of the key steps you need to take into consideration when taking a photograph. It makes a clear difference to the photograph and when it comes to portrait photos, it can change the face shape. This is why you have to experiment when taking photographs with taking photograph, weather it is natural light or studio light.
|
|
|
|
|
|
Natural light
For this first shoot in experimenting with lighting, we experimented with natural light. The sun was very bright this day so this was an advantage when taking these photographs.
For this first shoot in experimenting with lighting, we experimented with natural light. The sun was very bright this day so this was an advantage when taking these photographs.
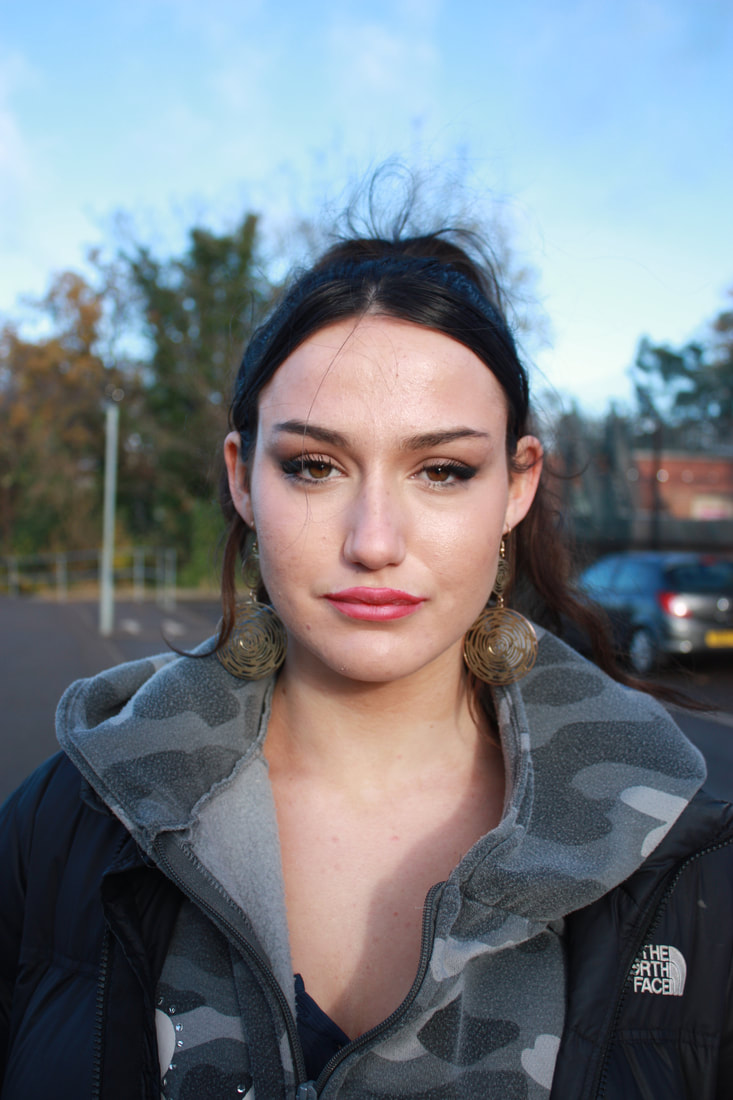
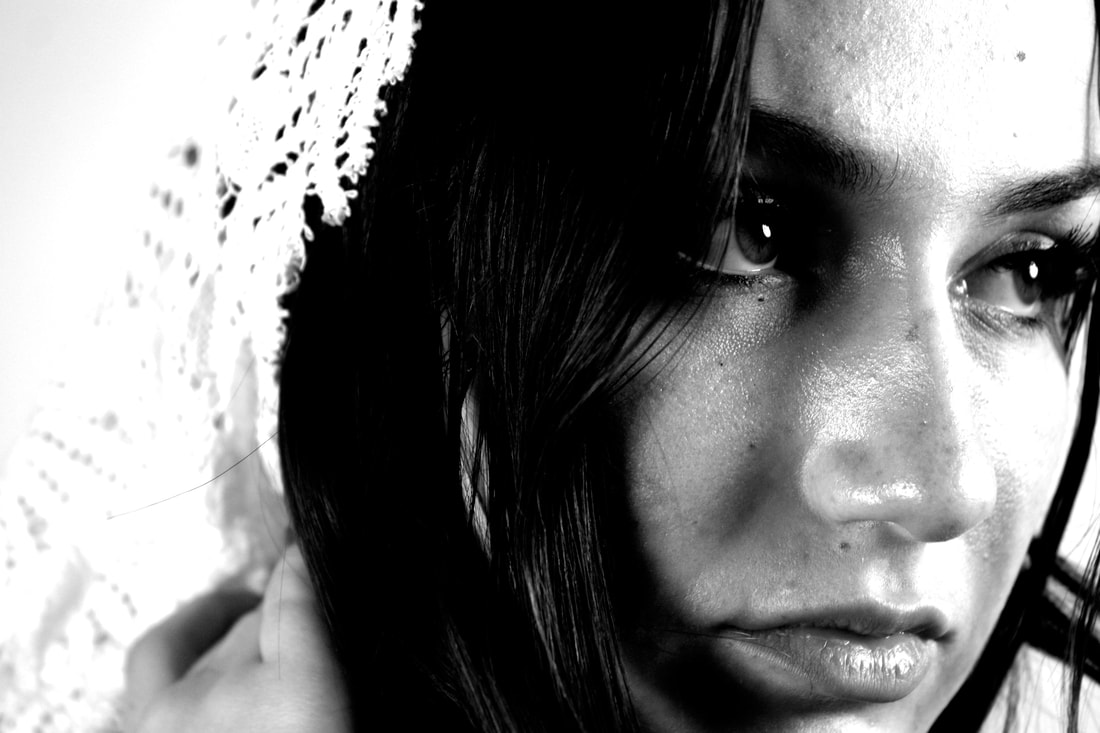
I took a photograph with the light directly on the model's face. This made the face look exposed and with no shadow at all. This is used for portraits where you must show every aspect of the face. This technique is the most successful technique when taking portrait photographs.
|

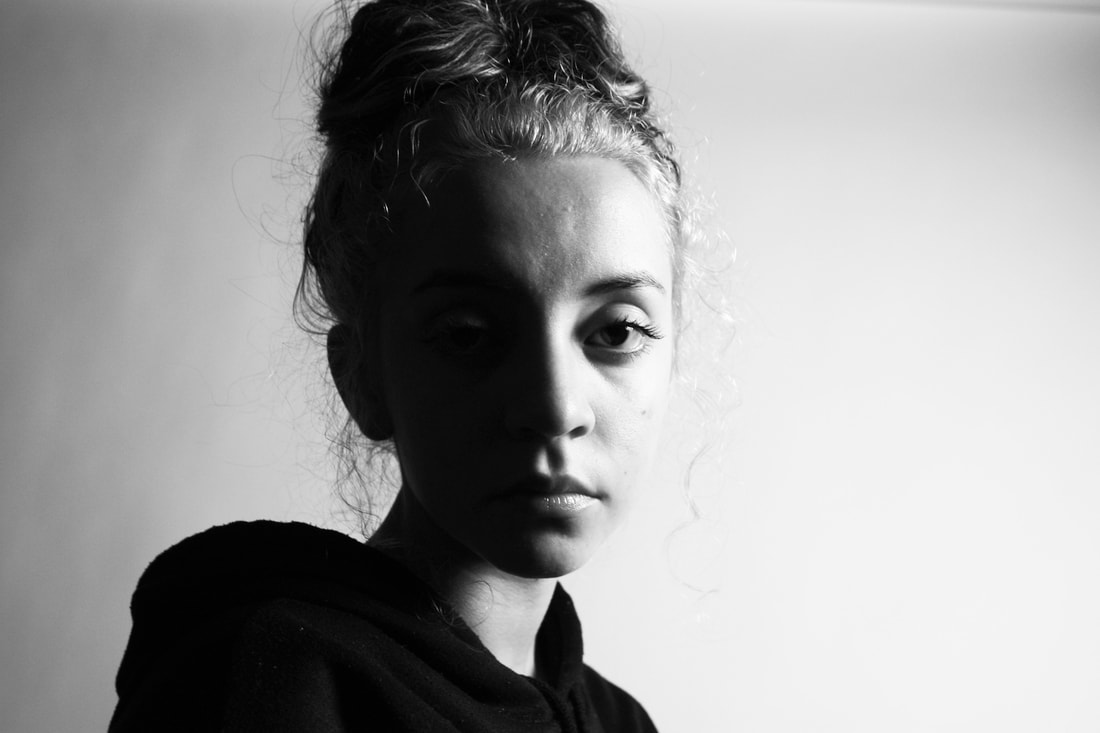
In this photograph, the lighting is 45° to the face. This creates a slight shadow on the side of the face. In this photograph, you are able to see shapes and indentations of the face like the cheekbones and jawline. They are now more defined and noticeable.
|

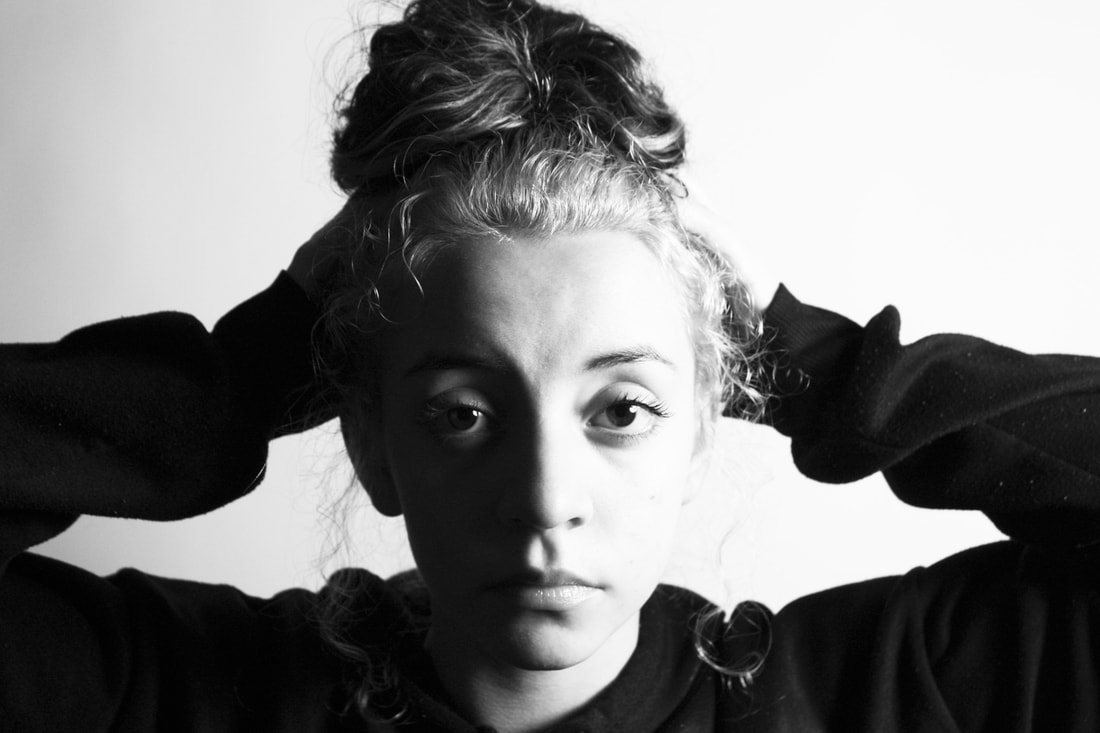
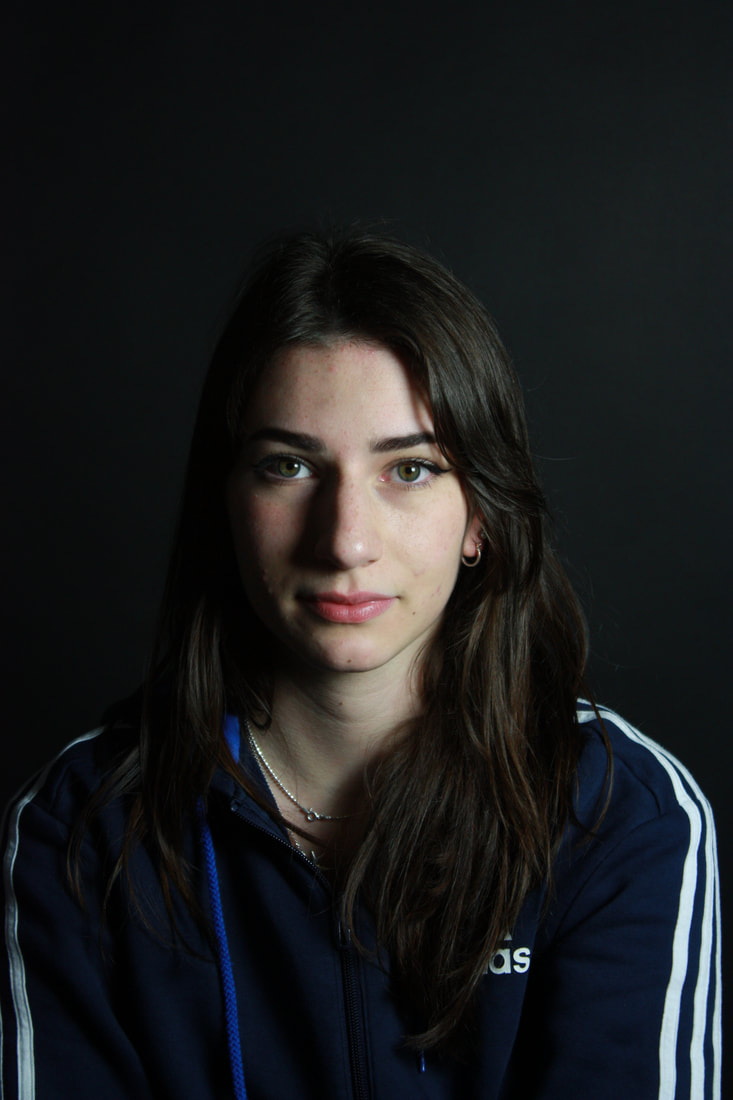
The lighting is 90° onto the face. This has now made only half of the face visible as shadows have been created. This is usually a weak photograph because you aren't able to see their face properly which is a poor technique when taking portraits.
|
WWW: This clearly demonstrated the affect of light at a certain angle when taking photographs.
EBI: Take photographs again with a coloured or plain background
EBI: Take photographs again with a coloured or plain background
Studio Light
Studio light can be adjusted to your liking. Any angle you would like, any height, any position and the intensity by adding more or less light.
Studio light can be adjusted to your liking. Any angle you would like, any height, any position and the intensity by adding more or less light.
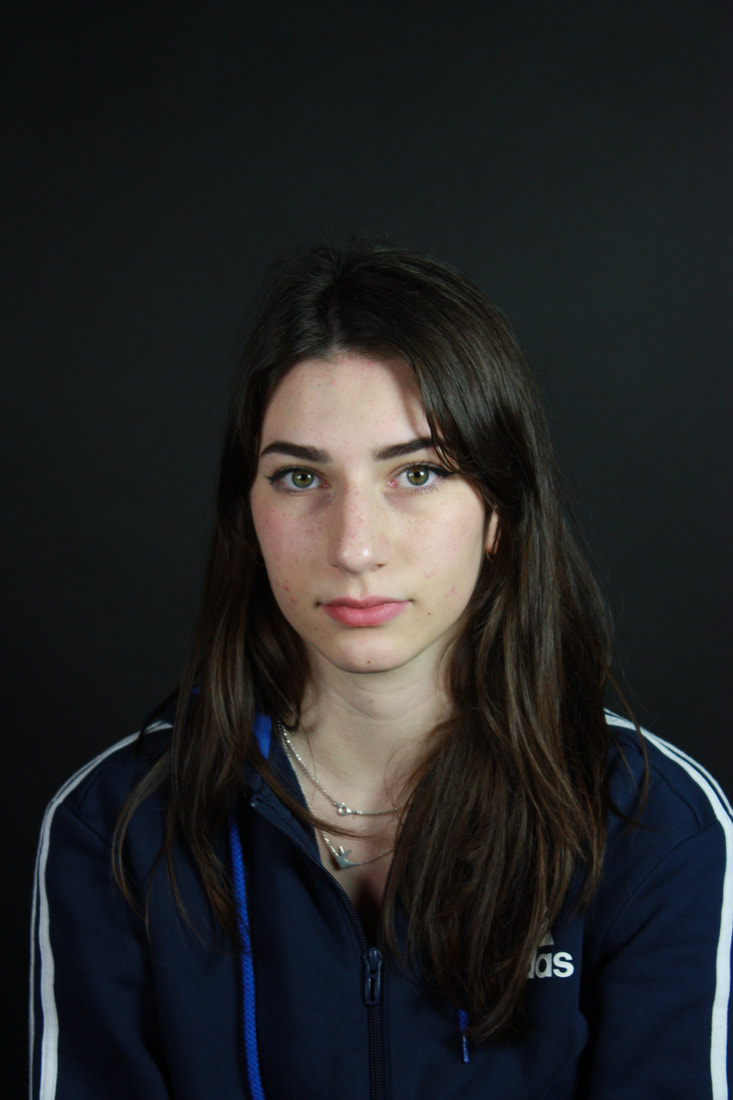
Main light
This is a light that was placed at a 45° angle from the models face creating the same effect as the natural light response. This is an intense light as it creates heavy shadows on the face. 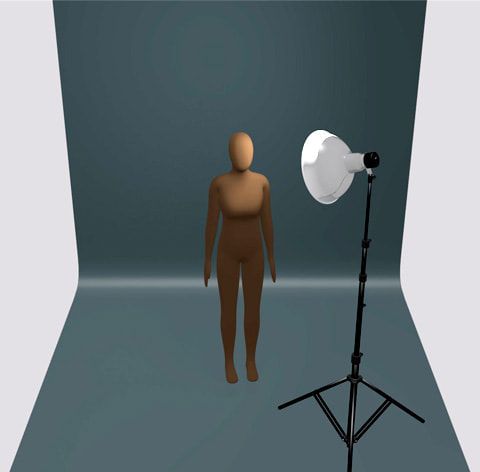
|
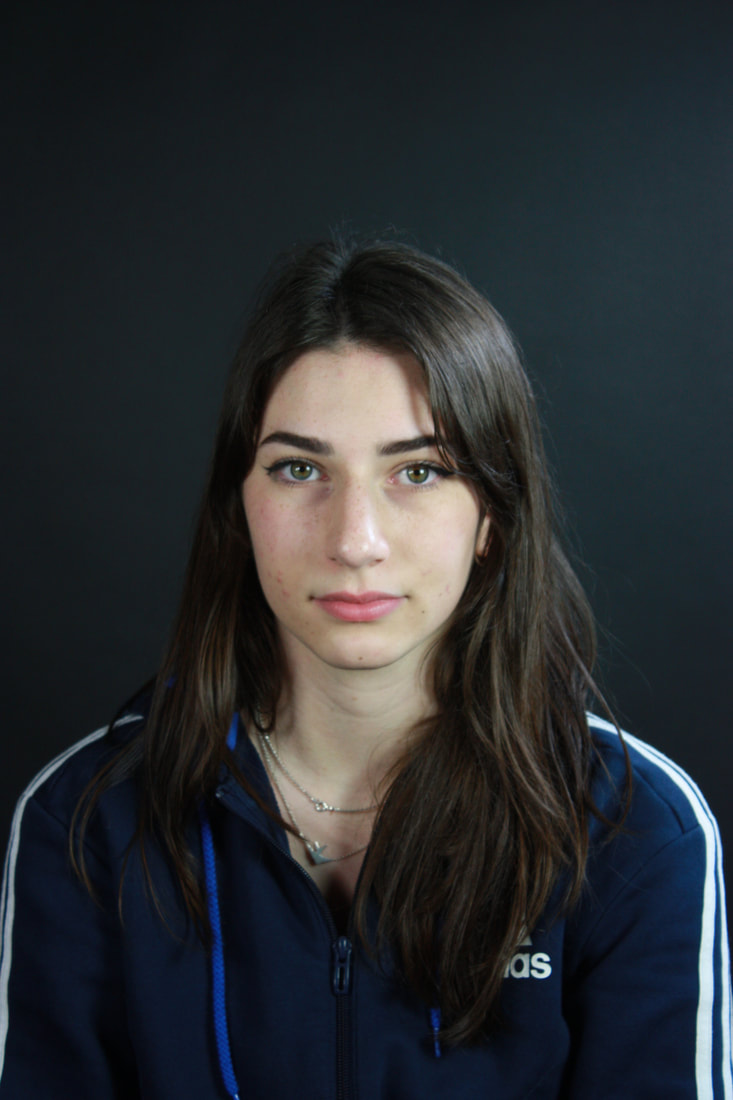
Fill light
Here we added a light onto the other side of the face exposing the whole face and creating barley any shadow. This is much less intense which is affective when taking portraits. 
|
Hair light
This light is placed facing down towards the model on the left side of her hair. This shines upon her hair exposing her face even more as it creates a successful studio portrait. 
|
WWW: The different lights are clearly presented and visible in each photograph.
EBI: Keep the model in the same place as the second photograph she slightly shifts to the side.
EBI: Keep the model in the same place as the second photograph she slightly shifts to the side.
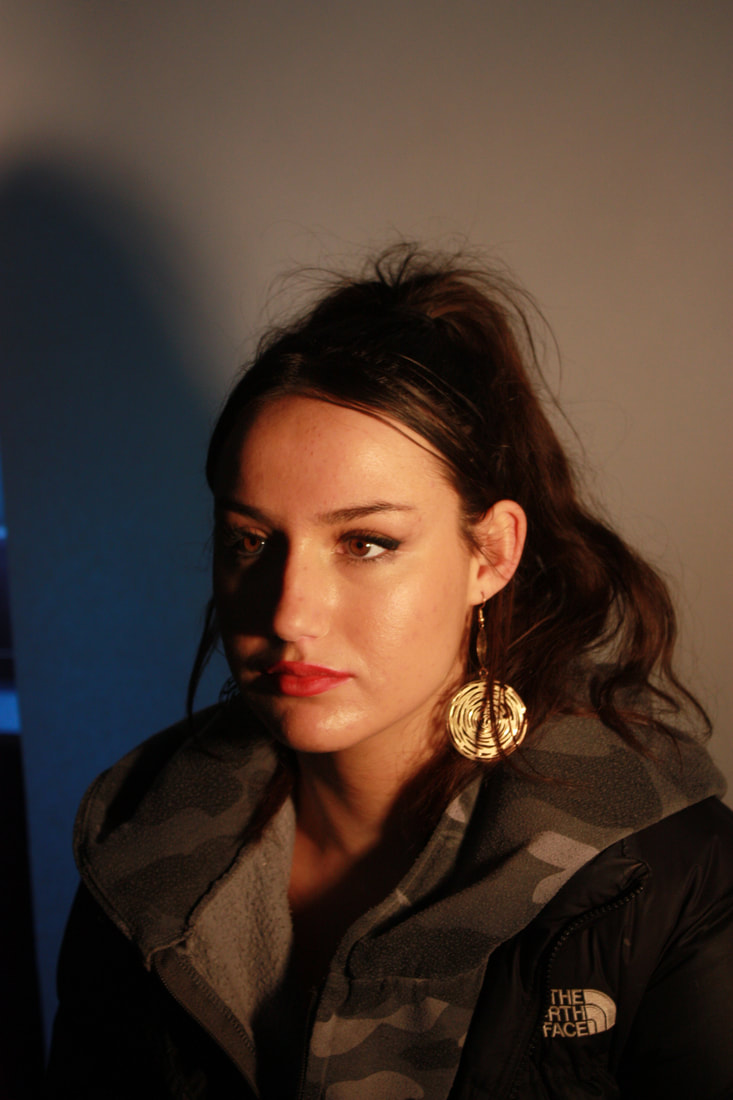
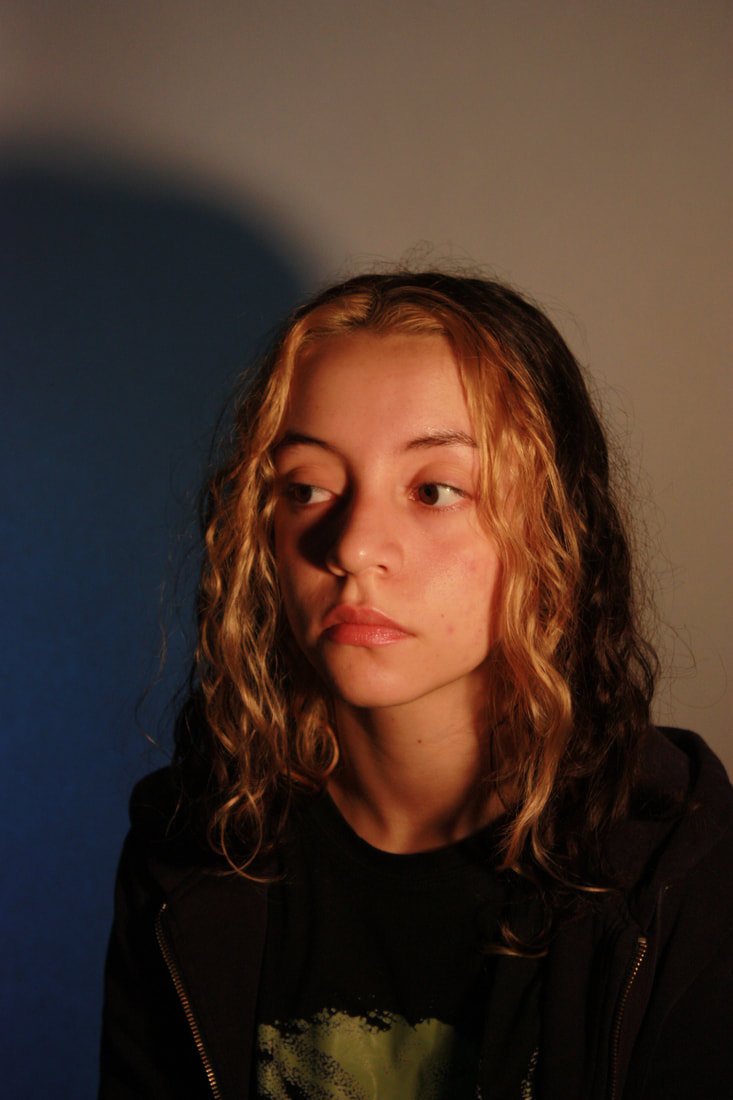
Tungsten Light
A tungsten Light is yellow and orange light. This goes a warm effect onto the models face as it is a complimenting colour.
A tungsten Light is yellow and orange light. This goes a warm effect onto the models face as it is a complimenting colour.

|
|
|
WWW: Showed the warm effect that is created by the light clearly.
EBI: If I took more straight on photographs or closer photographs to accentuate the warm effect created by the light.
EBI: If I took more straight on photographs or closer photographs to accentuate the warm effect created by the light.
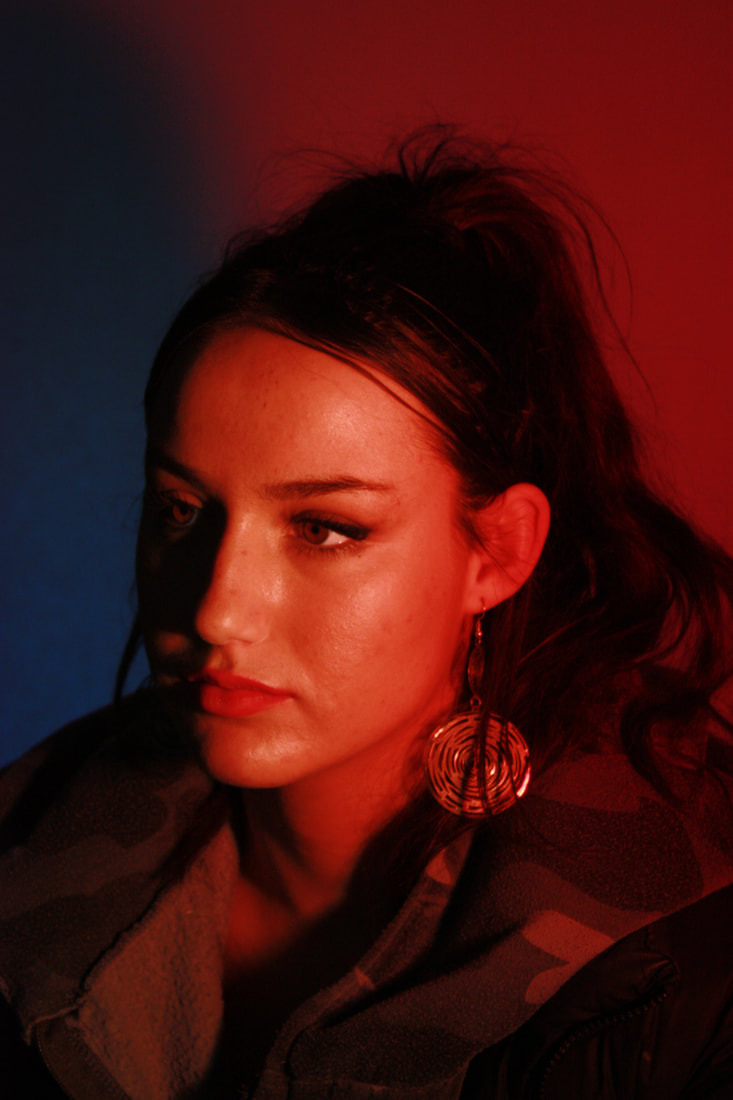
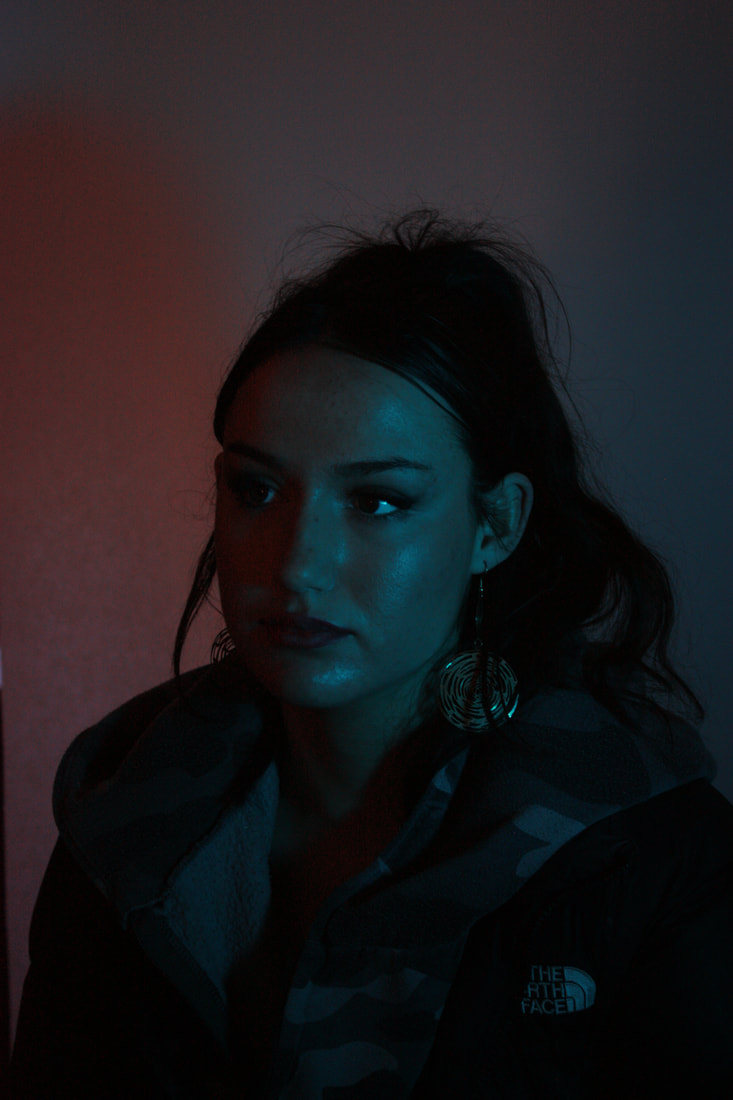
Coloured light
Here we took the tungsten light and placed some coloured sheet against it. This created a LED light affect but with a subtle effect. We also placed different coloured sheet at the same time as you can see on the 3rd photograph. This creates an almost street look with the coloured lights from cars and street lights.
Here we took the tungsten light and placed some coloured sheet against it. This created a LED light affect but with a subtle effect. We also placed different coloured sheet at the same time as you can see on the 3rd photograph. This creates an almost street look with the coloured lights from cars and street lights.
|
|
|
WWW: I really like how the photographs turned out as the colours are noticeable yet subtle creating a successful photograph
EBI: Take the photograph with two colours again and make the colours more noticeable.
EBI: Take the photograph with two colours again and make the colours more noticeable.
Project 6 - Ben watts, The big up portrait
Ben watts focuses on photographing street characters that may be well know socially or locally. His style bases on the urban lifestyle of New York. His artwork involves photographs and collages. This empahsis the street view and the urban culture that is usually seen in New York.

|

|

|
MY ARTIST RESPONSE
|
For my first responses based on Muhammad Ali. He is a known person and became one of the best boxers in his time. Making my response on him is significant because I was able to add legendary and famous quotes or pictures of him. |

|
WWW: Collage was made inspired by Ben Watts
EBI: Got colours from the same tone range.
EBI: Got colours from the same tone range.
INDEPENDENT development
First response
Valerie Kabis
For my independent task, I wanted to develop my response on Valerie Kabis due to the fact that I found it the most interesting artist in the portraiture topic. Through the experience in creating my first response by Valerie Kabis, I was able to understand her project but felt as if my first response was not as strong as her work and I wanted to achieve her artwork in an exact response.
Mood-board

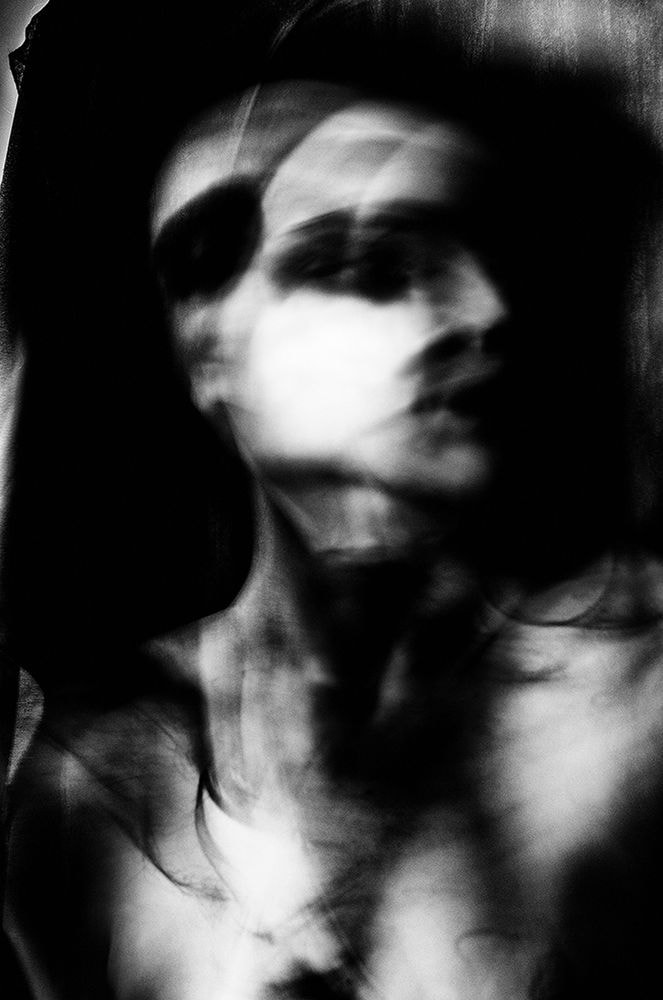
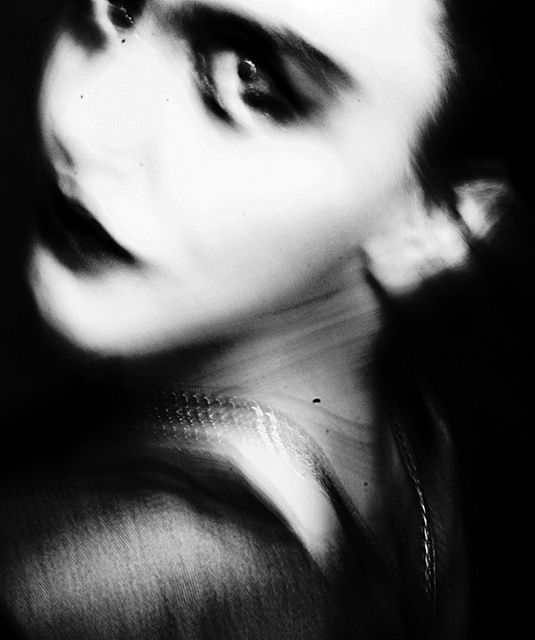
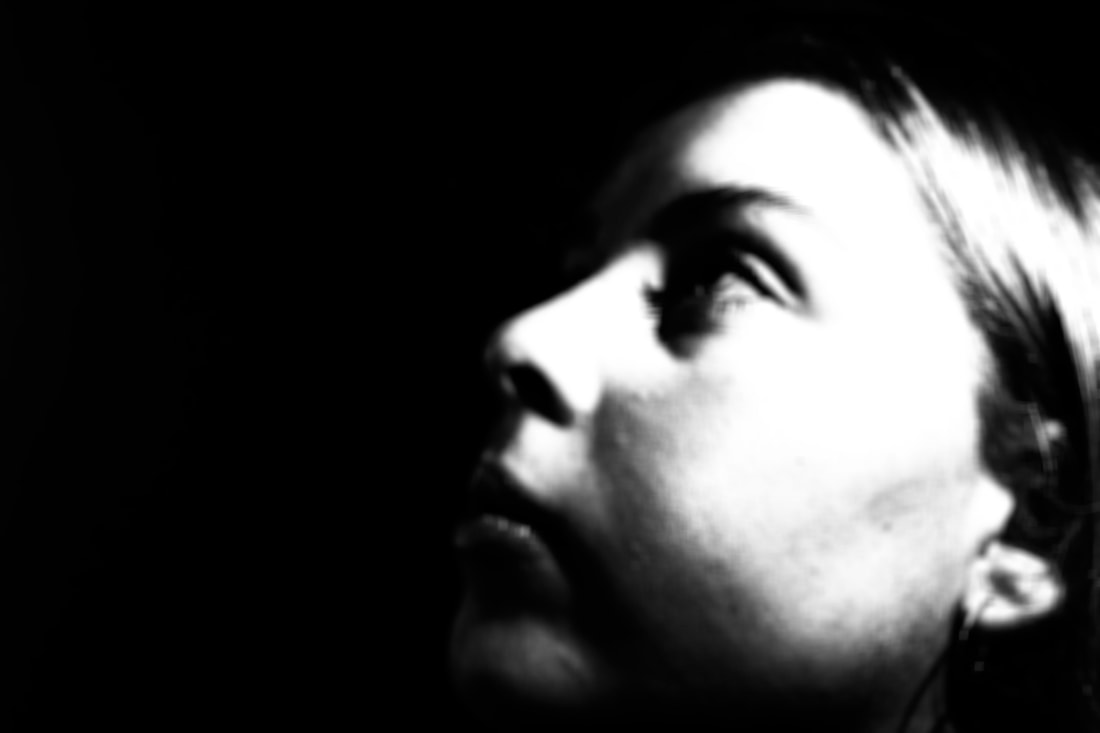
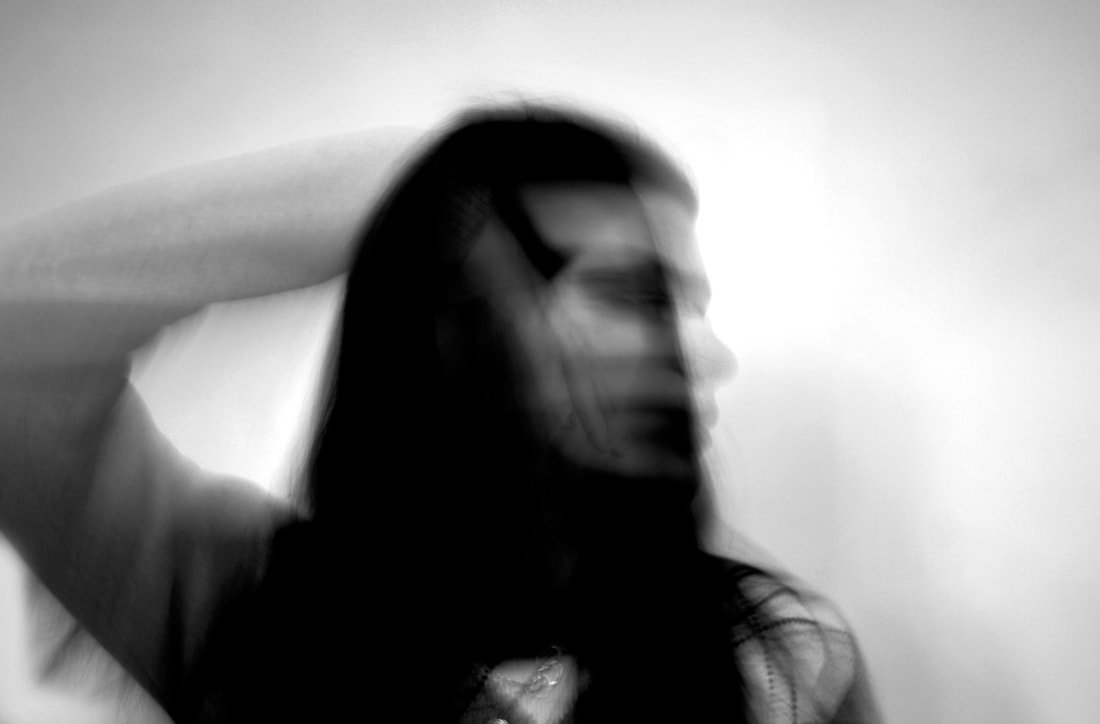
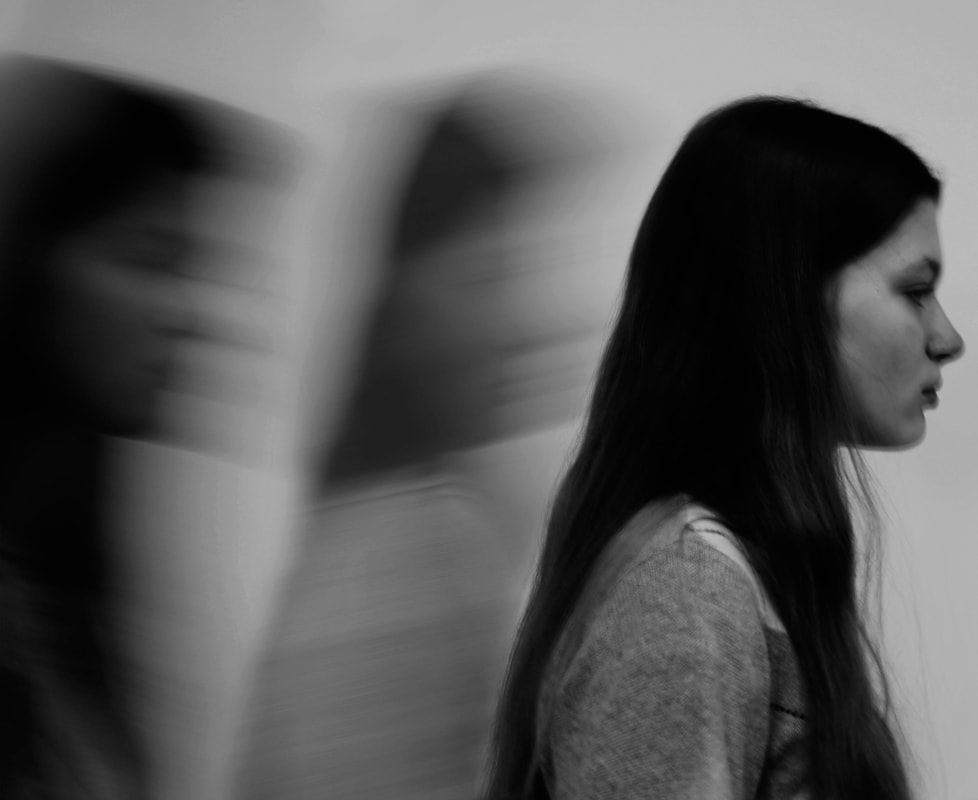
My intentions in creating this response was mainly to show emotion through the blurriness of the model which would show distress, sadness, loneliness and a sort of out of body experience. This would all be achieved through the model moving around and creating a bur effect as if there was a soul/persona escaping out of its body. The black and white tones would make their emotions more significant as a greyscale effect represents distress and a surreal experience. For some of the photographs, I was able to merge two different photographs together with two different movements and position that a single shot may have not captured. This created a double character result. Finally, I depend the tones and tried to mainly focus the photographs on black and white colours just like Valerie Kabis's work. This created a ghost affect which supports my intentions in my response.
Through my creations of these photographs, I also wanted to incorporate David Bailey's work as I was inspired in the dramatic poses and significants models that would be included in his work. With this, I got the model to append features like her hand and hair to accentuate a bur sequel.
Through my creations of these photographs, I also wanted to incorporate David Bailey's work as I was inspired in the dramatic poses and significants models that would be included in his work. With this, I got the model to append features like her hand and hair to accentuate a bur sequel.
Creating my response

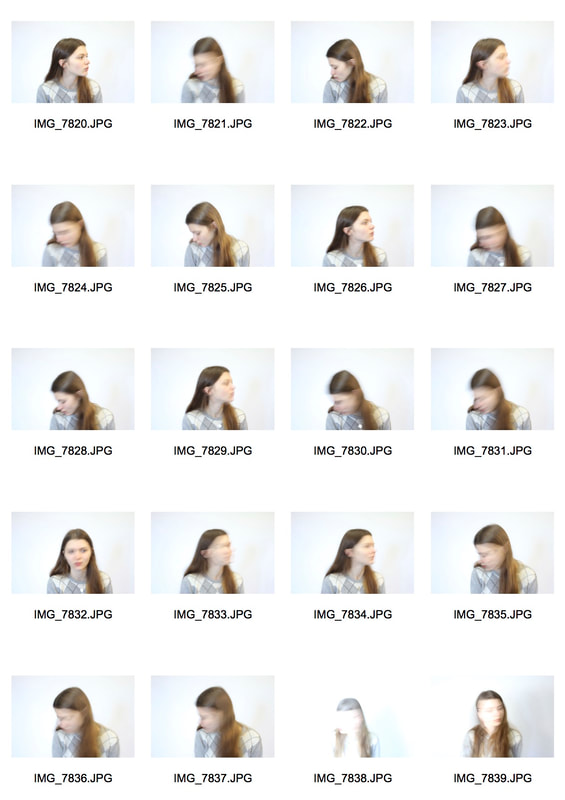
|
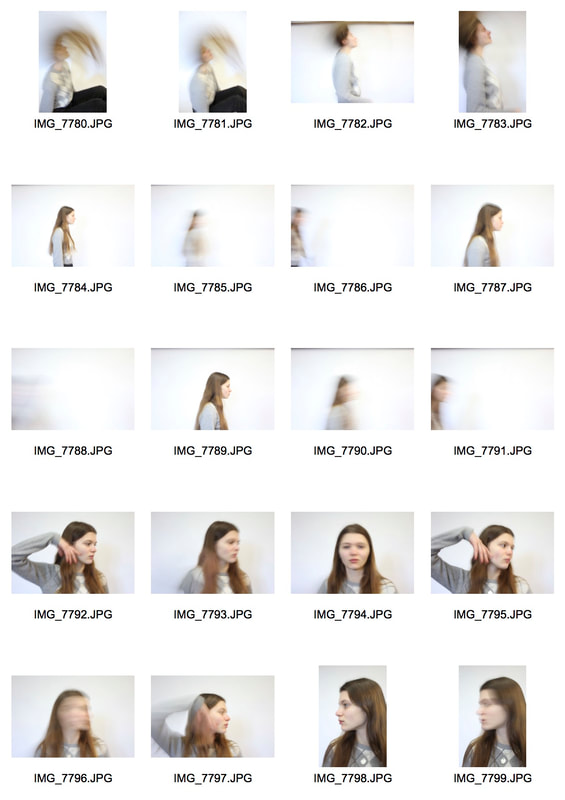
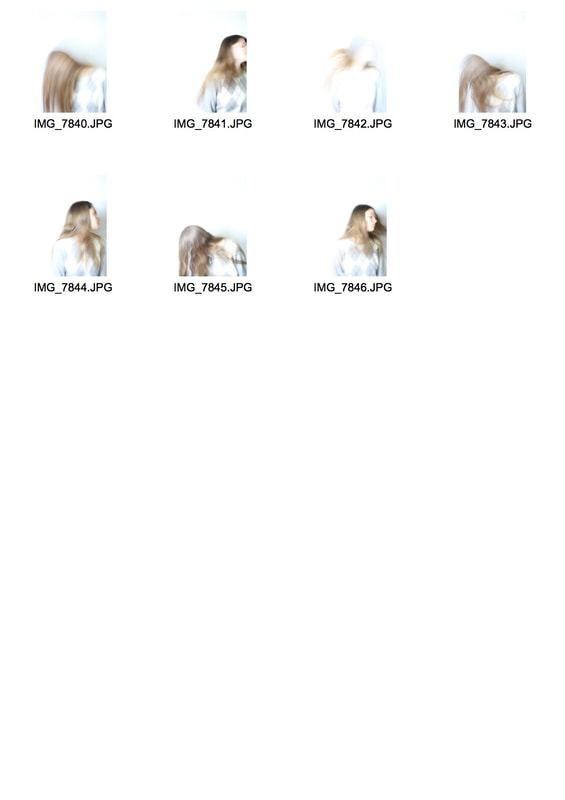
|

|
As I mentioned earlier, when creating these shots, if a certain movement I was not able to capture in one shot, I was able to bring to images that included the movements that required for the photograph to reach it goal. For example these two photographs :

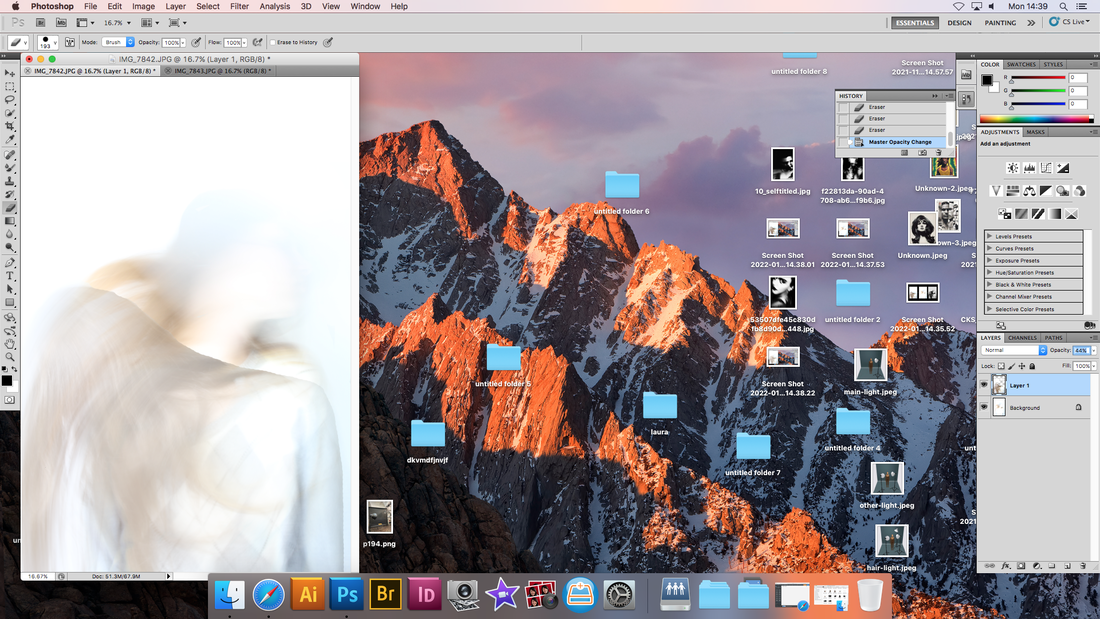
Once I found the photographs that succeeded in the shoot, I then transferred them into photoshop and imitated the same editing style as Valerie Kabis:
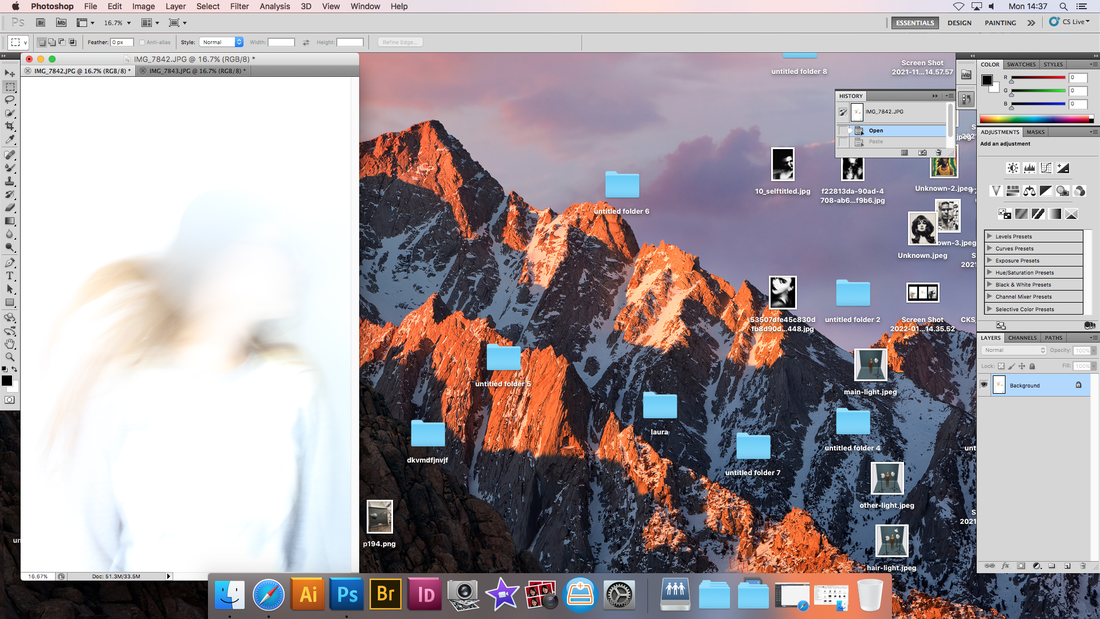
1) Started by opening both photographs that I wanted to include onto photoshop.
4) Placed which bit of the photograph I wanted to show.
|
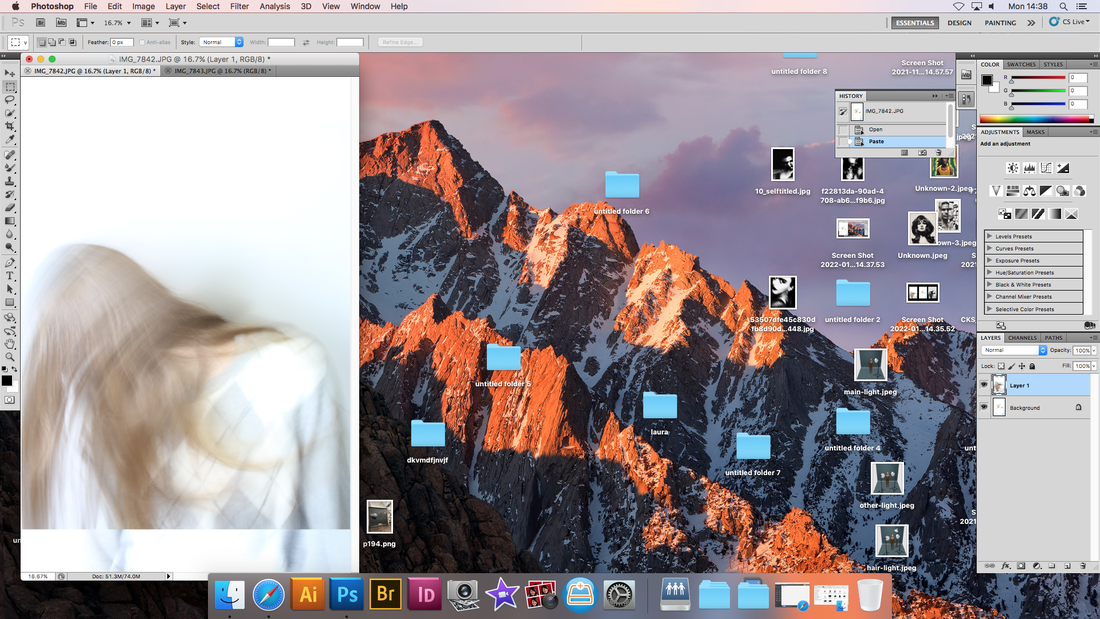
2) Copied and pasted one of the photographs onto the other to combine them.
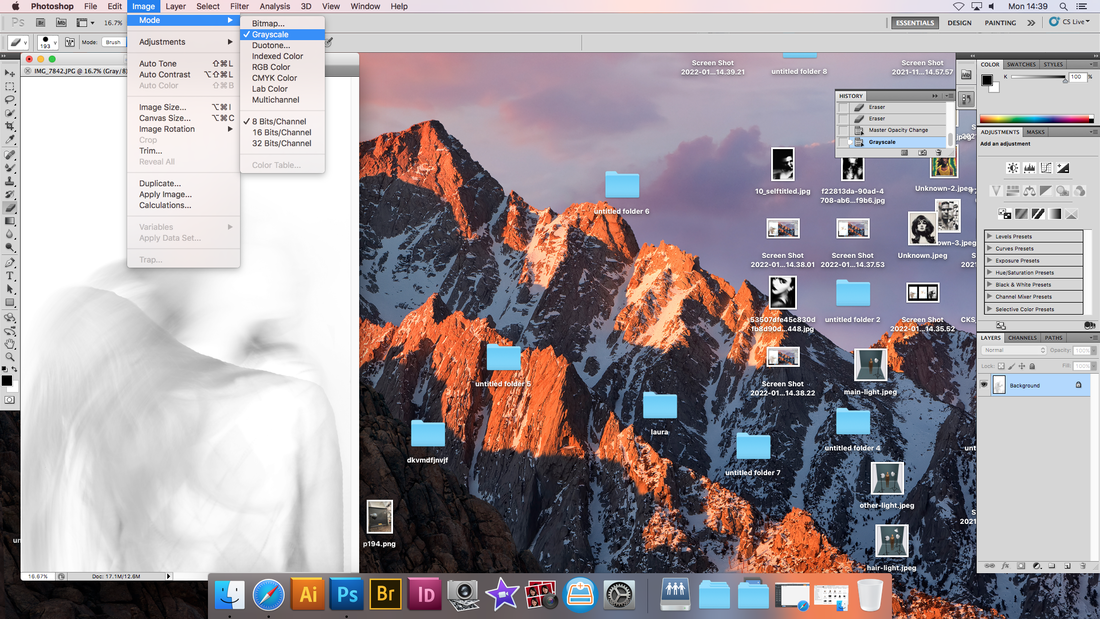
5) Turned it black and white
|
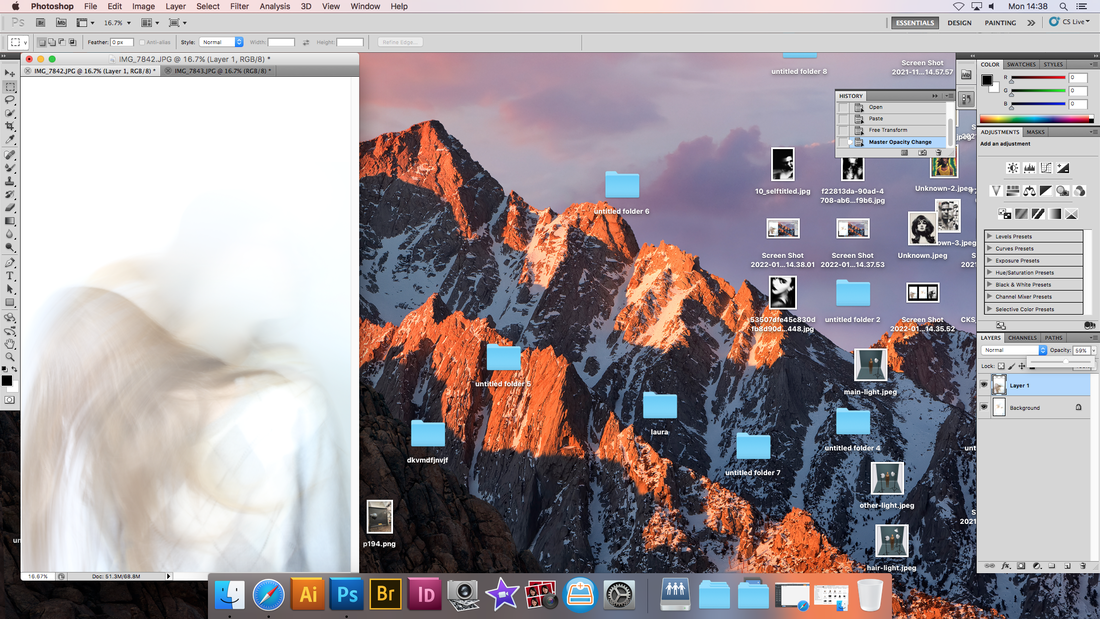
3) Turned down opacity to aline them together and have a reference when editing.
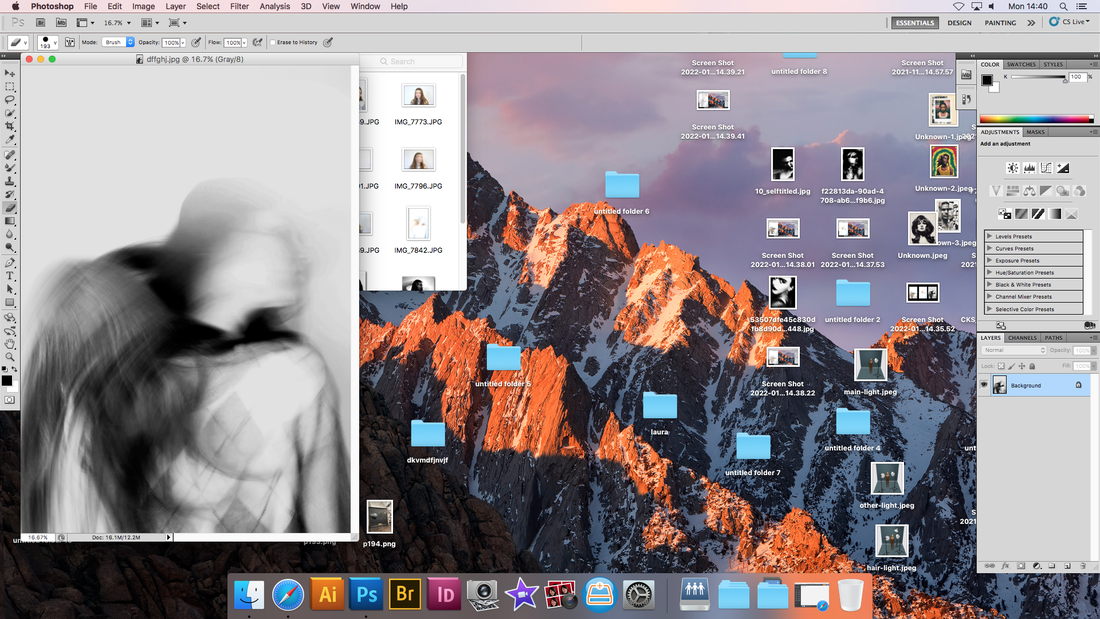
6) Experimented with contrast, black and white and exposure to achieve Valerie Kabis's work.
|
My first final shots
|
Emotions intended : Distress, needed escape
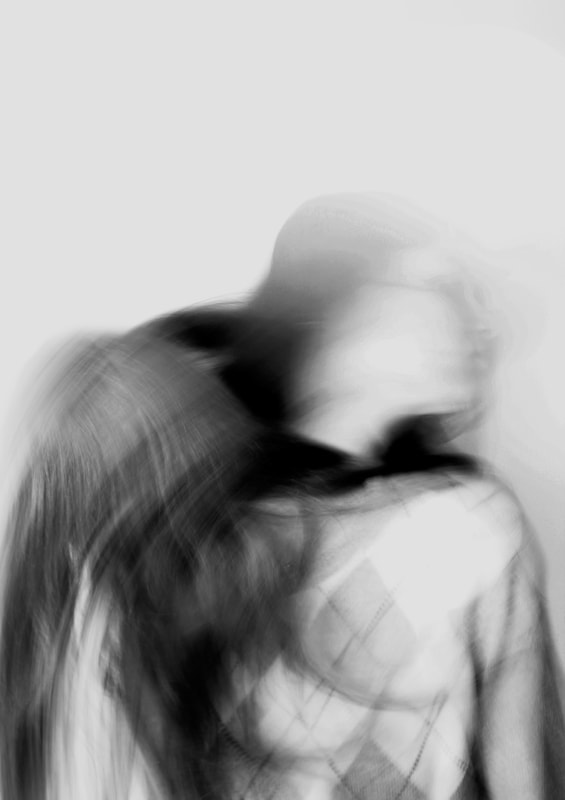
Unease

|
Sadness
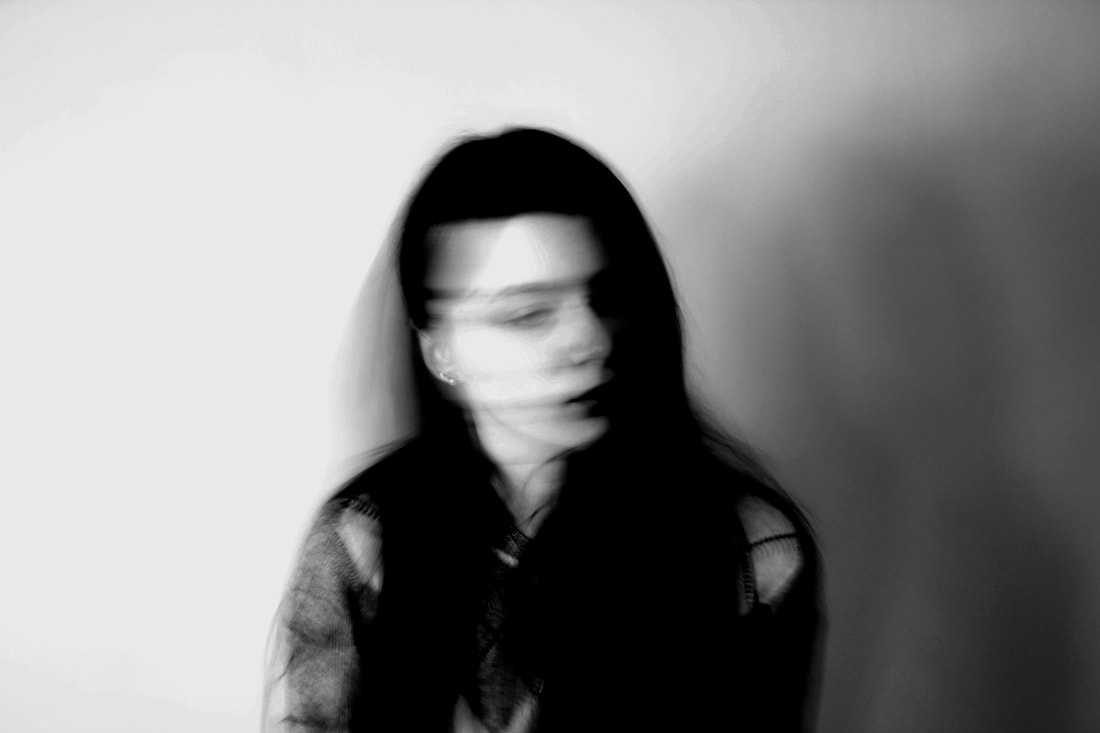
Lethargy
Fear

|
WWW: I believe that these responses are successful in my intentions and I am really happy about the outcome.
EBI: Try out with a black background.
EBI: Try out with a black background.
Second response
Francis Bacon
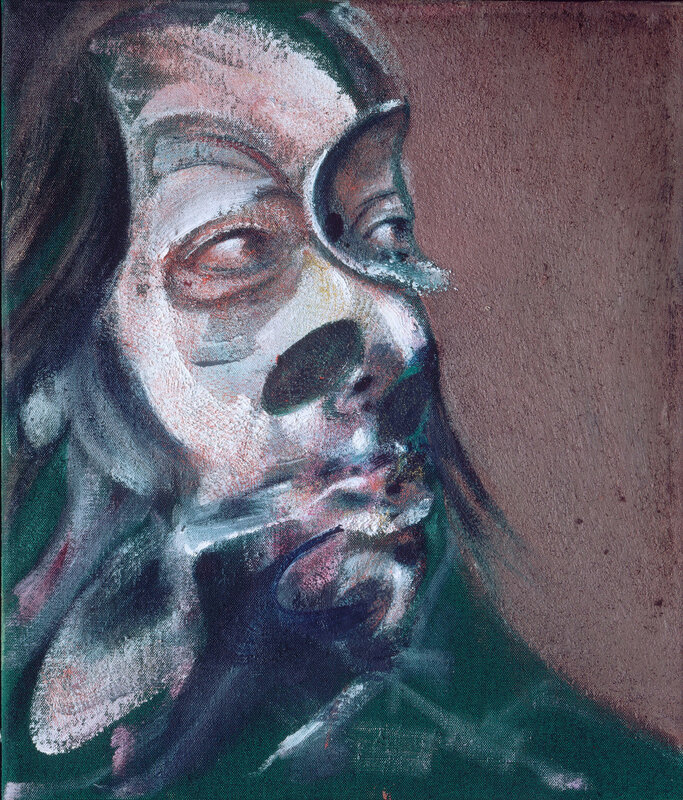
Francis Bacon was an Irish-born British figurative painter known for his raw, unsettling imagery. In his paintings you re able to see a clear pattern of distortion which is presented with a mix of placements of features and different places where the face is not exposed. The reason I chose to respond to this painter is because I found his artwork very interesting and works well with the portraiture independent development.

In this painting you are able to see the contracts of two faces and this is done by two different undertones and unexposed features that seem to be covered by black paint.
|
|

Here Bacon uses blurriness and blending to hide some of the features as a fading away affect which gives a hiding impression to the viewer as they will want to know what they are deliberately hiding.
|
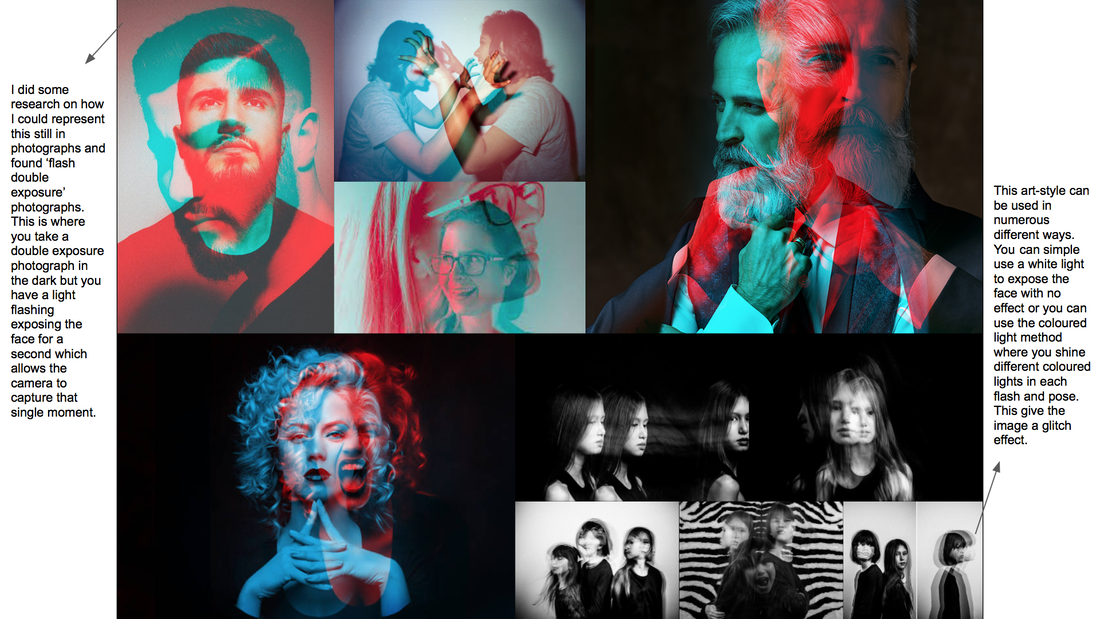
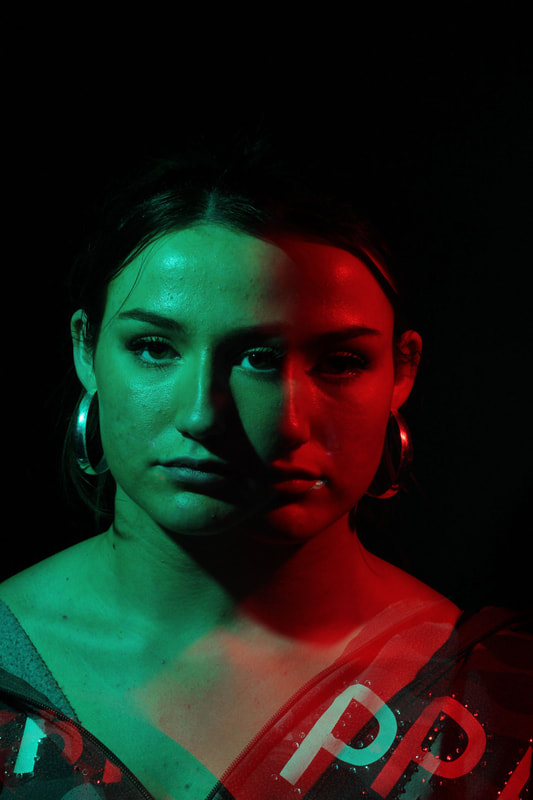
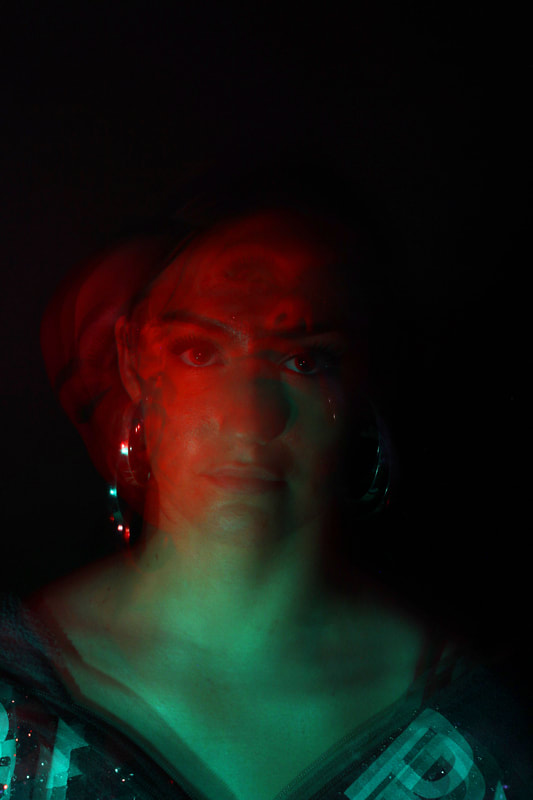
For this response I wanted to represent the different exposures. My teacher recommened ‘flash photography’.
Mood board / Vision board
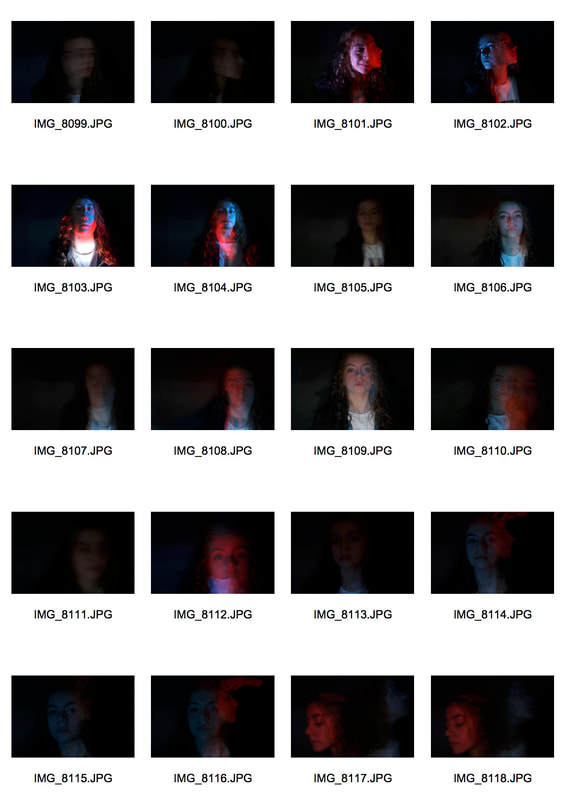
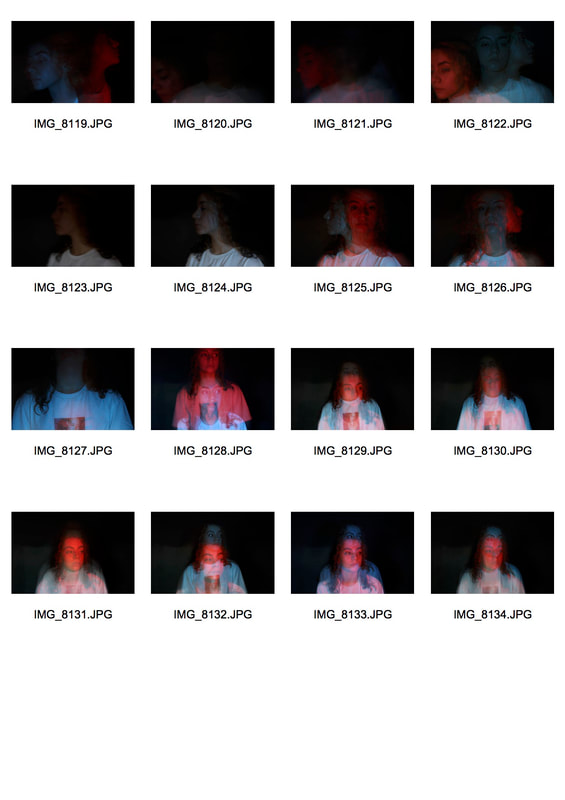
MY FIRST RESPONSE on flash photography
|
|
In the creation of these photographs, I used a rapid flash usually used for cameras and places an tint paper. I then placed it differently in front of the light which then made the flash the colour of the tinted paper.

|
First attempt

|

|


|

|
WWW: The response was successful and created some good shots
EBI: Some photographs are unfocused so I will retake them and work on focusing them
EBI: Some photographs are unfocused so I will retake them and work on focusing them
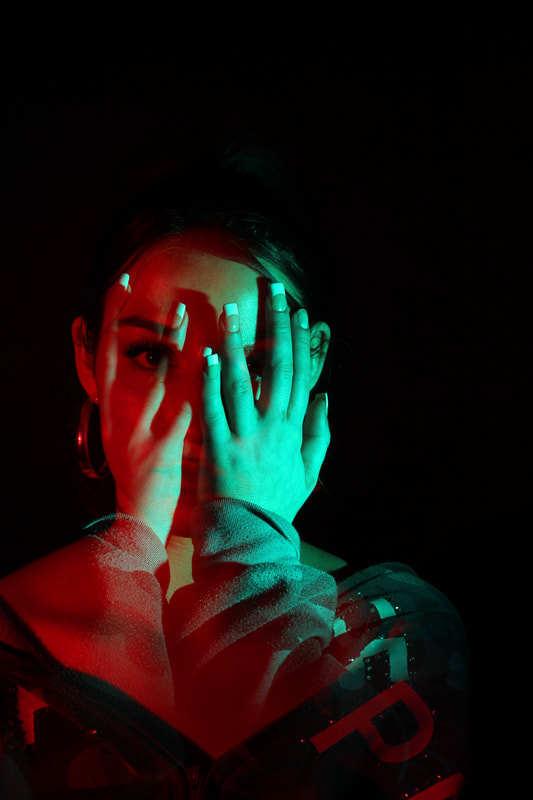
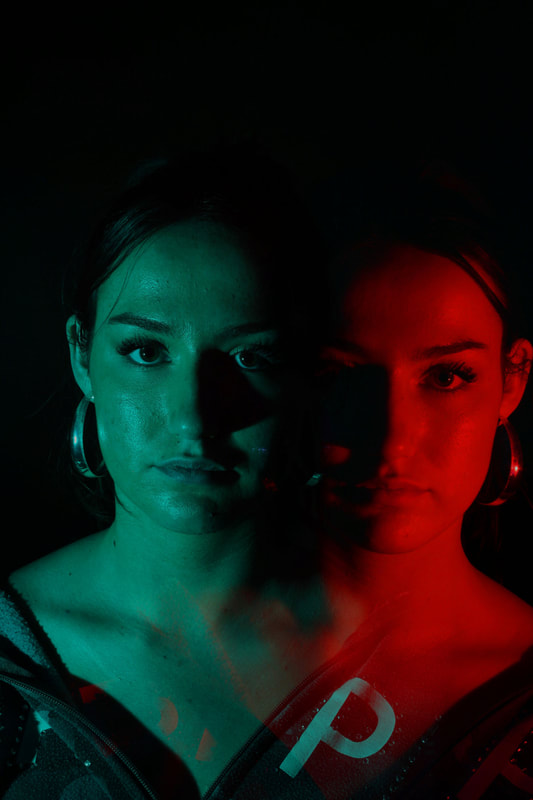
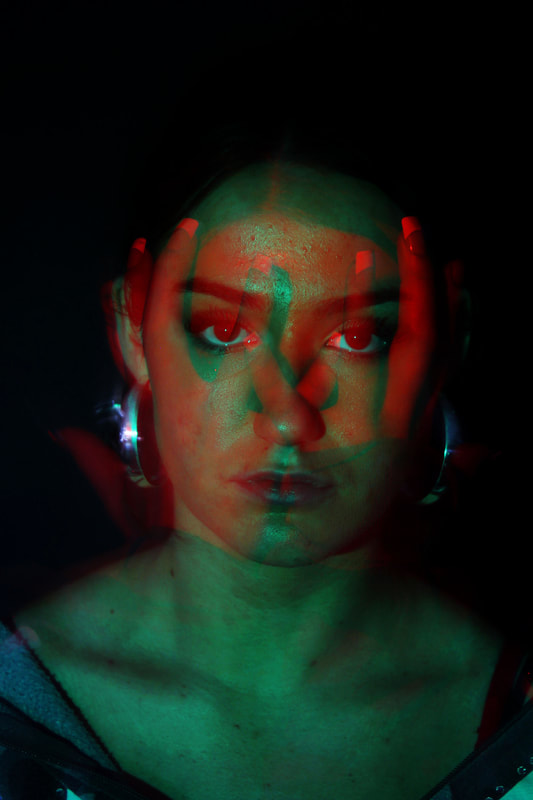
Final attempt
In this attempt I made sure that the photographs were in focus and are more interesting than the last.

|

|
|

|
Evaluation:
In this development I was able to complete the photographs and successfully achieved the EBI of the other attempts. I initially started with a double exposure with a ghost like atmosphere. Once I achieved those photographs, I developed it further on and tried to recreate Francis Bacon's work in a photograph photo. After further research the closest photographic style that fit into the his style was flash photography. In my first attempt, The photographs turned out blurry and I didn't believe that they were successfully presented. For that reason, I dd a final response where I was able to focus the camera onto the model and I experimented with different poses which made the photograph turn out more interesting and the final outcome of my independent response turned out to be successful.
In the final outcome of the independent development, I changed the camera from landscape to portrait which I found the photographs to fit into the portraiture theme. This then made the photographs to be mainly focused on the model compered to the first response where the black background was too overpowering and made the viewer not be able to focus on the model. I found that with less background, they became impactful.
If I would have more time to develop it even further, I would experiment on different number of flashes compered to just two. This would then link to my first response and would adapt with the ghost theme and would link together nicely.
